Abbrucharbeiten Vordächer bei Lindenring 6 und Eichenstr. 19
Lindenring 6
IMG_3067.JPG
IMG_3067.JPG
IMG_3068.JPG
IMG_3068.JPG
DSC_0128.JPG
DSC_0128.JPG
DSC_0129.JPG
DSC_0129.JPG
DSC_0130.JPG
DSC_0130.JPG
DSC_0132.JPG
DSC_0132.JPG
DSC_0137.JPG
DSC_0137.JPG
DSC_0138.JPG
DSC_0138.JPG
DSC_0140.JPG
DSC_0140.JPG
DSC_0143.JPG
DSC_0143.JPG
DSC_0144.JPG
DSC_0144.JPG
DSC_0146.JPG
DSC_0146.JPG
DSC_0147.JPG
DSC_0147.JPG
DSC_0153.JPG
DSC_0153.JPG
             
Eichenstr. 19
DSC_0149.JPG
DSC_0149.JPG
DSC_0151.JPG
DSC_0151.JPG
DSC_0152.JPG
DSC_0152.JPG
       
DSC_0155.JPG
DSC_0155.JPG
DSC_0156.JPG
DSC_0156.JPG
DSC_0158.JPG
DSC_0158.JPG
DSC_0160.JPG
DSC_0160.JPG
DSC_0162.JPG
DSC_0162.JPG
DSC_0163.JPG
DSC_0163.JPG
 
DSC_0164.JPG
DSC_0164.JPG
DSC_0165.JPG
DSC_0165.JPG
DSC_0166.JPG
DSC_0166.JPG
DSC_0167.JPG
DSC_0167.JPG
DSC_0168.JPG
DSC_0168.JPG
DSC_0170.JPG
DSC_0170.JPG
DSC_0172.JPG
DSC_0172.JPG
DSC_0173.JPG
DSC_0173.JPG
DSC_0174.JPG
DSC_0174.JPG
DSC_0175.JPG
DSC_0175.JPG
DSC_0176.JPG
DSC_0176.JPG
DSC_0177.JPG
DSC_0177.JPG
DSC_0178.JPG
DSC_0178.JPG
DSC_0179.JPG
DSC_0179.JPG
DSC_0181.JPG
DSC_0181.JPG
DSC_0182.JPG
DSC_0182.JPG
DSC_0184.JPG
DSC_0184.JPG
DSC_0185.JPG
DSC_0185.JPG
DSC_0186.JPG
DSC_0186.JPG
DSC_0187.JPG
DSC_0187.JPG
DSC_0188.JPG
DSC_0188.JPG
Eichenstr. 17
038DSC_0257.JPG
038DSC_0257.JPG
039DSC_0258.JPG
039DSC_0258.JPG
040DSC_0265.JPG
040DSC_0265.JPG
       
             
Abbruch der Pflanztröge
DSC_0212.JPG
DSC_0212.JPG
DSC_0215.jpg
DSC_0215.jpg
DSC_0208.jpg
DSC_0208.jpg
DSC_0216.JPG
DSC_0216.JPG
DSC_0217.jpg
DSC_0217.jpg
DSC_0206.JPG
DSC_0206.JPG
DSC_0207.JPG
DSC_0207.JPG
DSC_0303.JPG
DSC_0303.JPG
DSC_0353.JPG
DSC_0353.JPG
    DSC_0226.JPG
DSC_0226.JPG
DSC_0232.JPG
DSC_0232.JPG
 
  DSC_0311.JPG
DSC_0311.JPG
DSC_0312.JPG
DSC_0312.JPG
DSC_0314.jpg
DSC_0314.jpg
DSC_0315.jpg
DSC_0315.jpg
DSC_0316.JPG
DSC_0316.JPG
 
Die Pflanztröge werden mit Hilfe eines Autokrans heruntergenommen
DSC_0454.JPG
DSC_0454.JPG
DSC_0457.JPG
DSC_0457.JPG
DSC_0459.JPG
DSC_0459.JPG
DSC_0463.JPG
DSC_0463.JPG
DSC_0472.JPG
DSC_0472.JPG
DSC_0474.JPG
DSC_0474.JPG
DSC_0477.JPG
DSC_0477.JPG
DSC_0479.JPG
DSC_0479.JPG
DSC_0468.JPG
DSC_0468.JPG
DSC_0489.JPG
DSC_0489.JPG
       
Pflanztröge die mit der Brüstung ein Element bilden werden in Höhe der Brüstung abgesägt und gesichert bis diese Abgenommen werden

 
DSC_0502.JPG
DSC_0502.JPG
DSC_0506.JPG
DSC_0506.JPG
008DSC_0895.JPG
008DSC_0895.JPG
010DSC_0908.JPG
010DSC_0908.JPG
 
             
Gerüstbau
DSC_0292.JPG
DSC_0292.JPG
DSC_0298.JPG
DSC_0298.JPG
DSC_0326.JPG
DSC_0326.JPG
DSC_0321.JPG
DSC_0321.JPG
DSC_0330.JPG
DSC_0330.JPG
DSC_0340.JPG
DSC_0340.JPG
DSC_0343.JPG
DSC_0343.JPG
DSC_0491.JPG
DSC_0491.JPG
DSC_0493.JPG
DSC_0493.JPG
DSC_0499.JPG
DSC_0499.JPG
DSC_0500.JPG
DSC_0500.JPG
DSC_0507.JPG
DSC_0507.JPG
DSC_0510.JPG
DSC_0510.JPG
DSC_0511.JPG
DSC_0511.JPG
DSC_0516.JPG
DSC_0516.JPG
DSC_0517.JPG
DSC_0517.JPG
DSC_0519.JPG
DSC_0519.JPG
DSC_0547.JPG
DSC_0547.JPG
DSC_0549.JPG
DSC_0549.JPG
DSC_0617.JPG
DSC_0617.JPG
DSC_0620.JPG
DSC_0620.JPG
DSC_0626.JPG
DSC_0626.JPG
DSC_0632.JPG
DSC_0632.JPG
DSC_0640.JPG
DSC_0640.JPG
DSC_0642.JPG
DSC_0642.JPG
DSC_0708.JPG
DSC_0708.JPG
   
DSC_0661.JPG
DSC_0661.JPG
DSC_0719.JPG
DSC_0719.JPG
DSC_0660.JPG
DSC_0660.JPG
DSC_0728.JPG
DSC_0728.JPG
DSC_0785.JPG
DSC_0785.JPG
   
024DSC_0089.JPG
024DSC_0089.JPG
026DSC_0100.JPG
026DSC_0100.JPG
028DSC_0125.JPG
028DSC_0125.JPG
018DSC_0043.JPG
018DSC_0043.JPG
032DSC_0227.JPG
032DSC_0227.JPG
   
             
Fenstereinbau
Hier werden die Fenster für uns hergestellt
Heimo Türen und Fenster
Am Schammacher Feld 3, 85567 Grafing
 
DSC_0440.JPG
DSC_0440.JPG
DSC_0439.JPG
DSC_0439.JPG


Fenster in der Muster-Wohnung


DSC_0521.JPG
DSC_0521.JPG
DSC_0522.JPG
DSC_0522.JPG
DSC_0523.JPG
DSC_0523.JPG
DSC_0525.JPG
DSC_0525.JPG
DSC_0527.JPG
DSC_0527.JPG
DSC_0529.JPG
DSC_0529.JPG
DSC_0535.JPG
DSC_0535.JPG
DSC_0538.JPG
DSC_0538.JPG
DSC_0539.JPG
DSC_0539.JPG
DSC_0540.JPG
DSC_0540.JPG
DSC_0543.JPG
DSC_0543.JPG
DSC_0544.JPG
DSC_0544.JPG
DSC_0545.JPG
DSC_0545.JPG
             
DSC_0612.JPG
DSC_0612.JPG
DSC_0613.JPG
DSC_0613.JPG

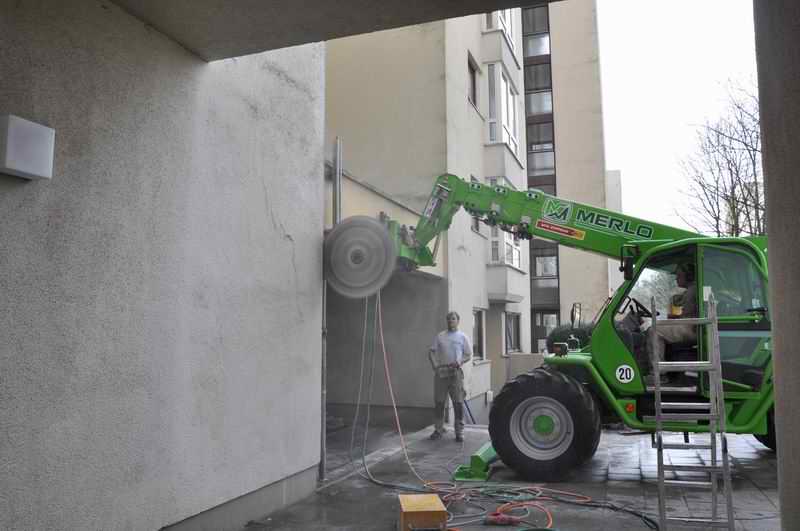
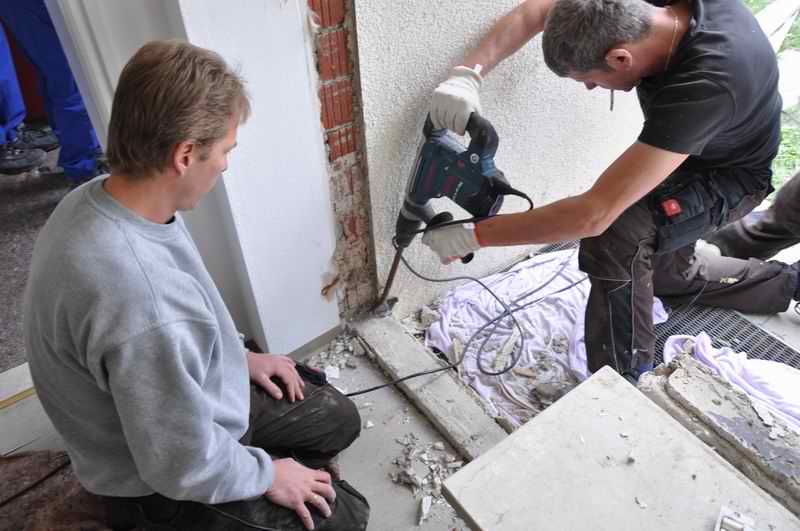
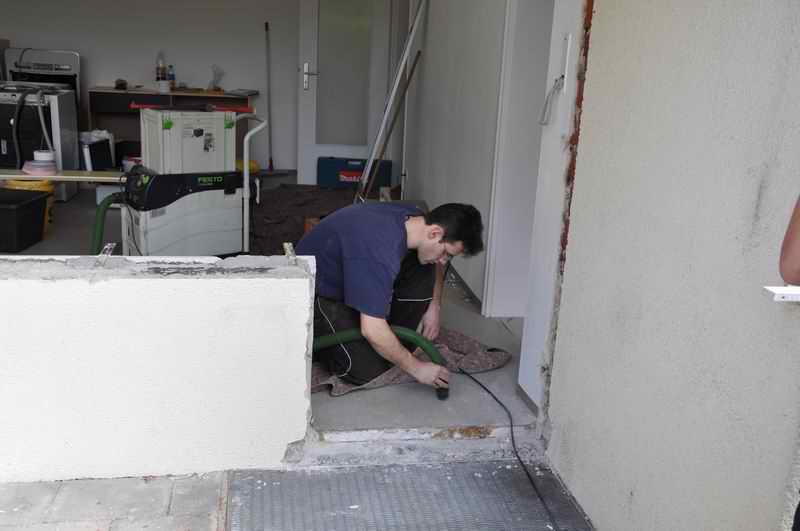
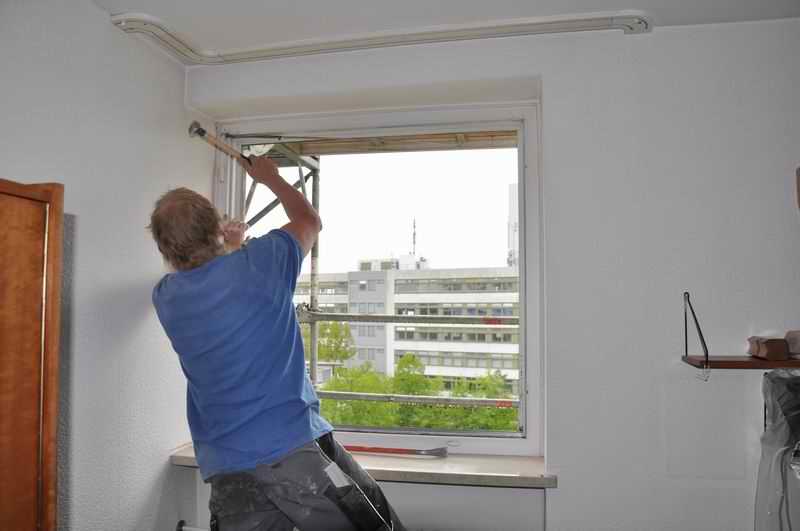
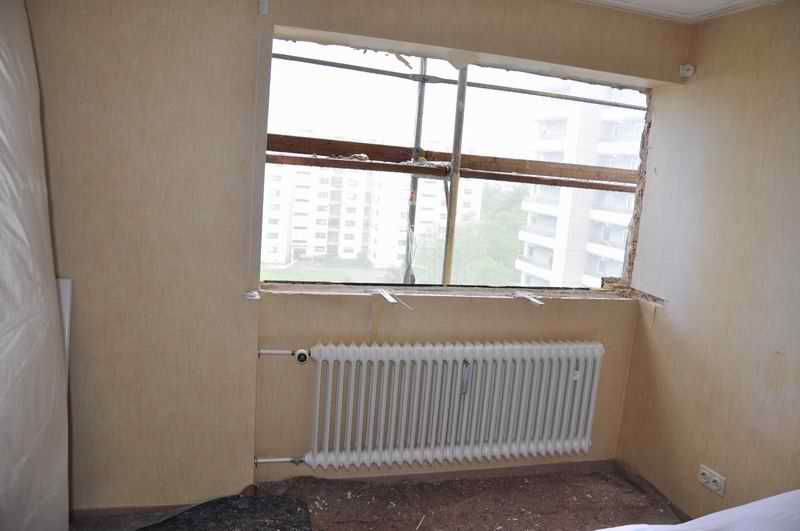
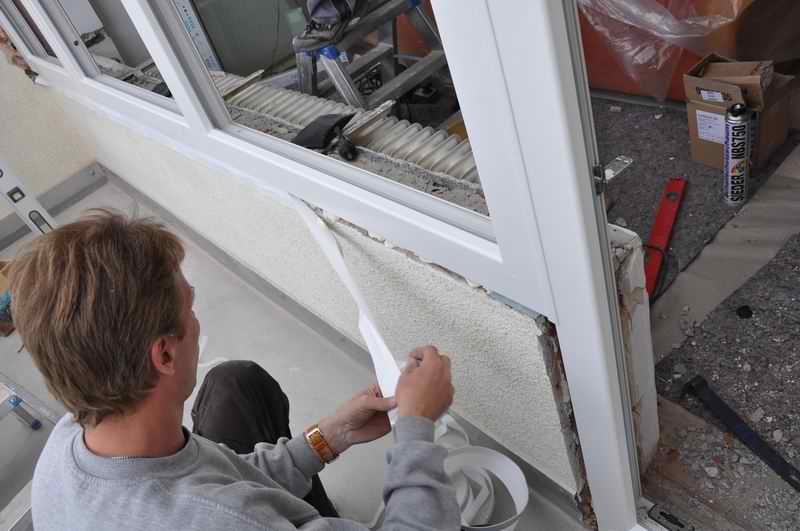
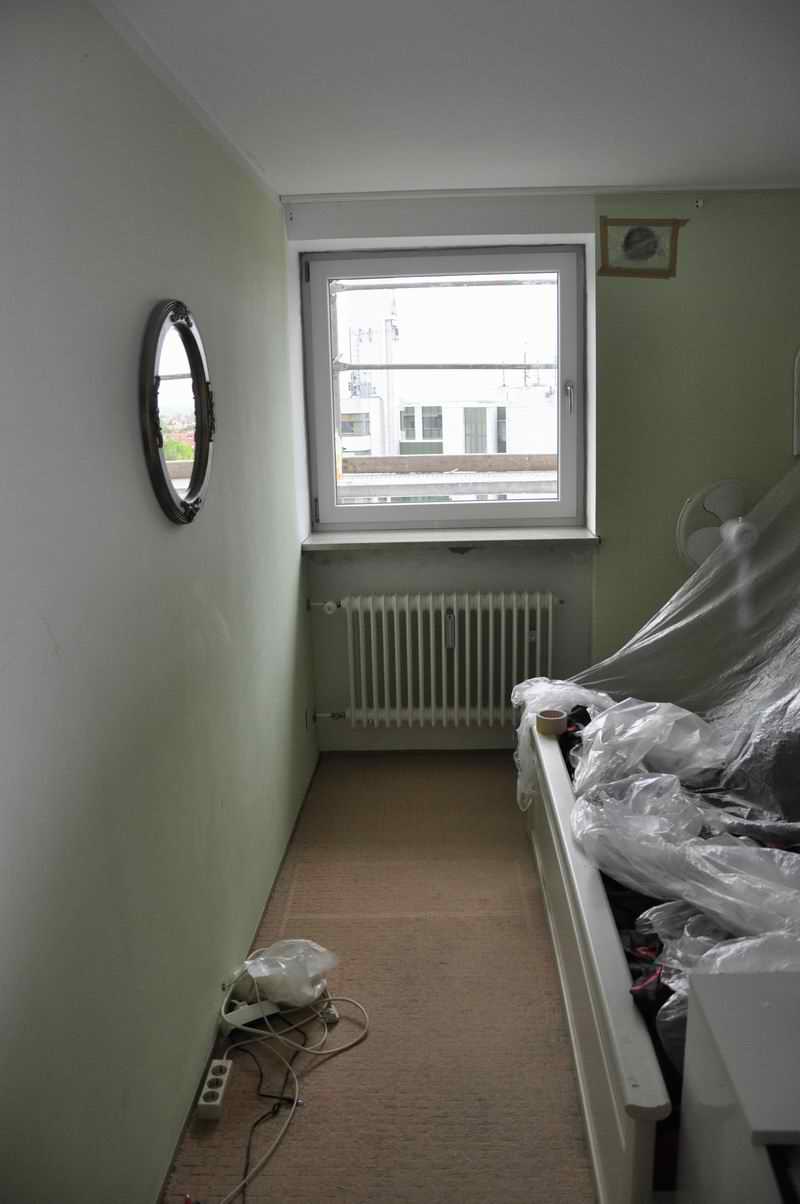
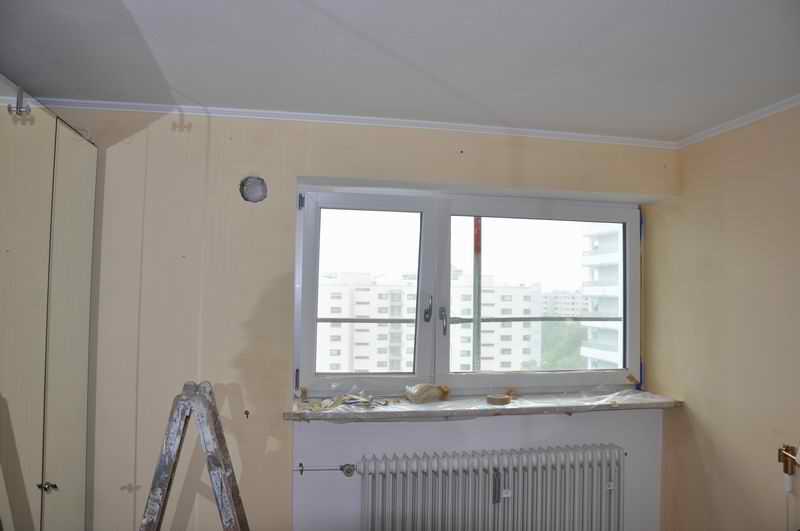
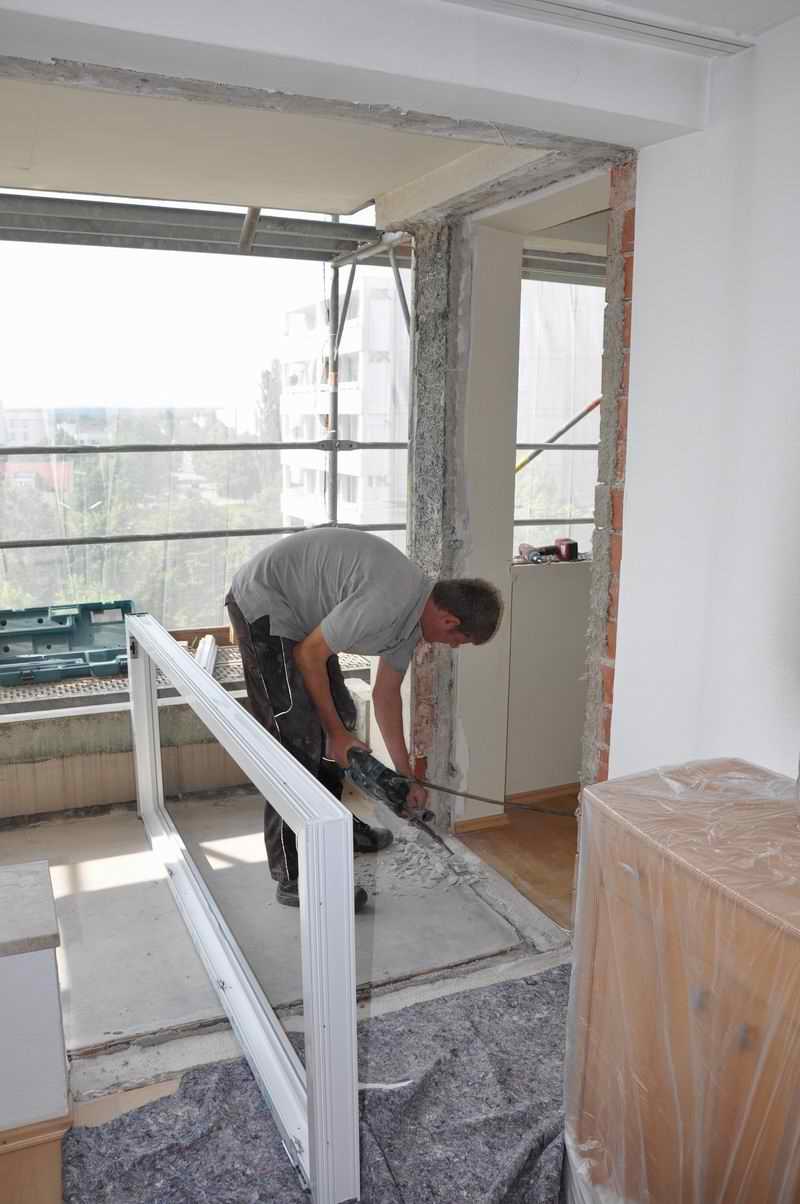
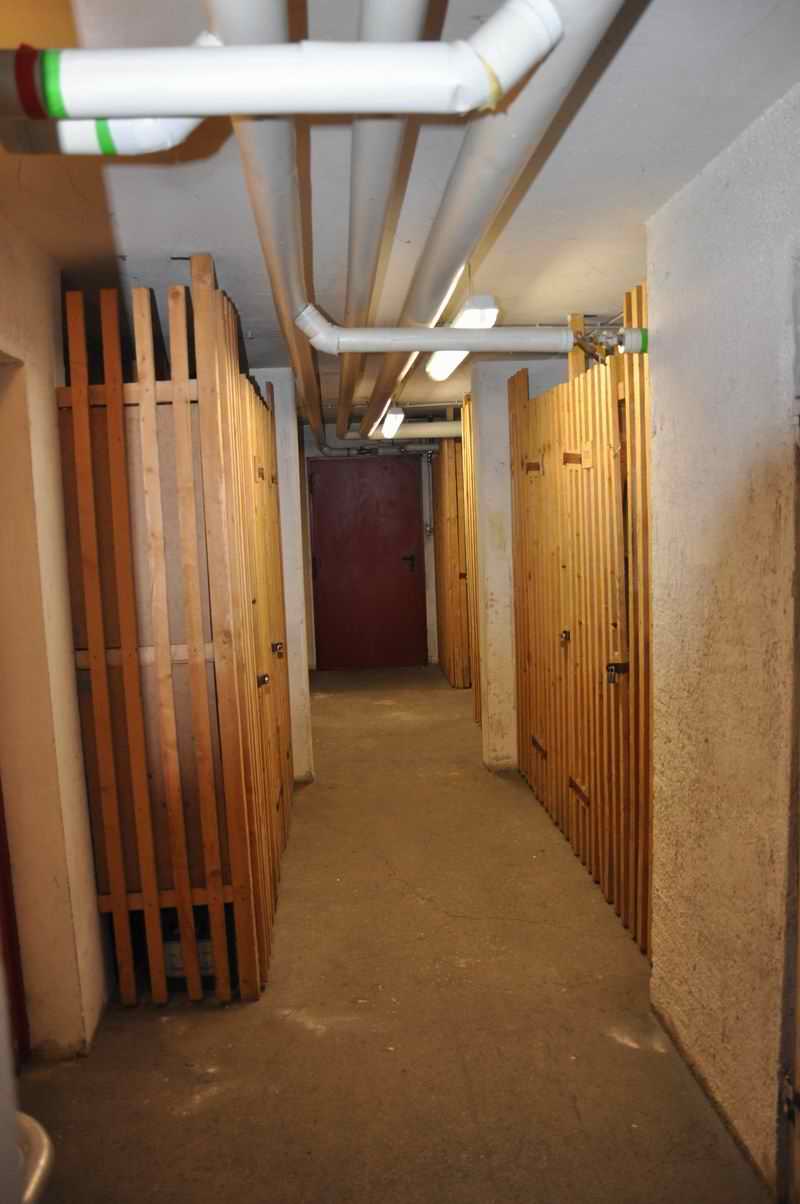
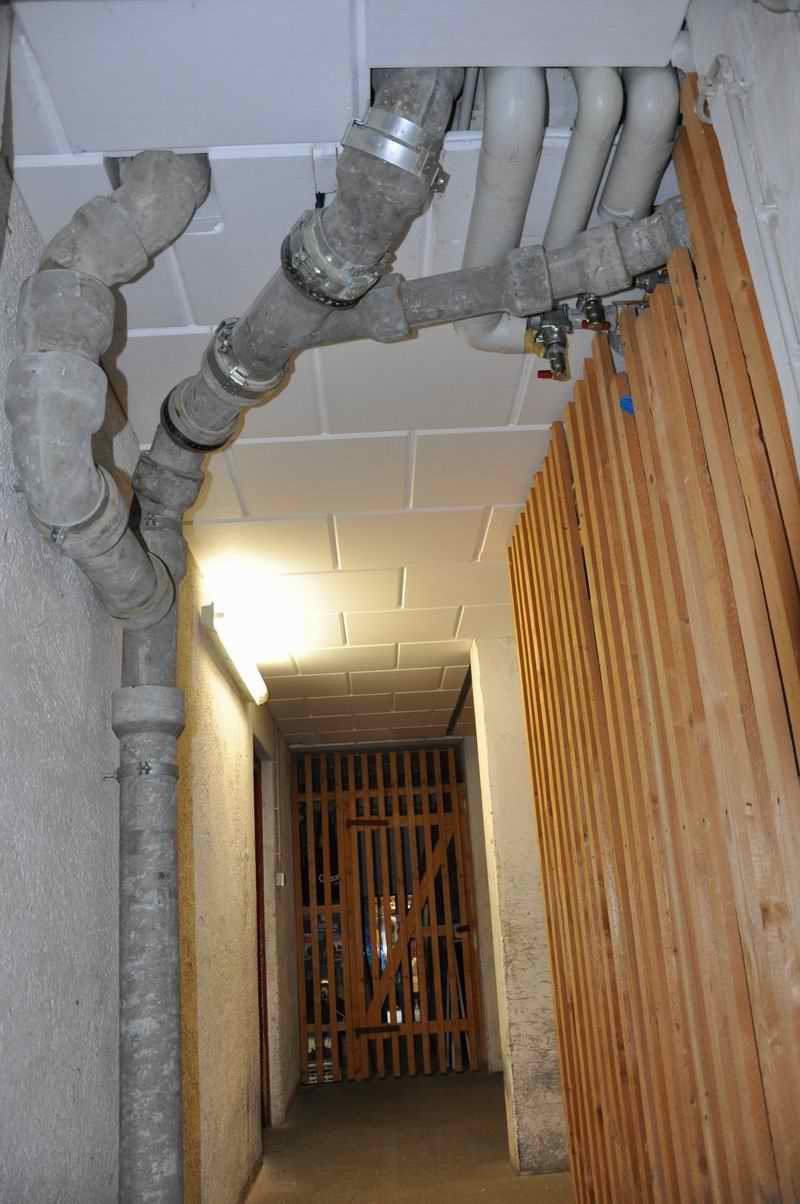
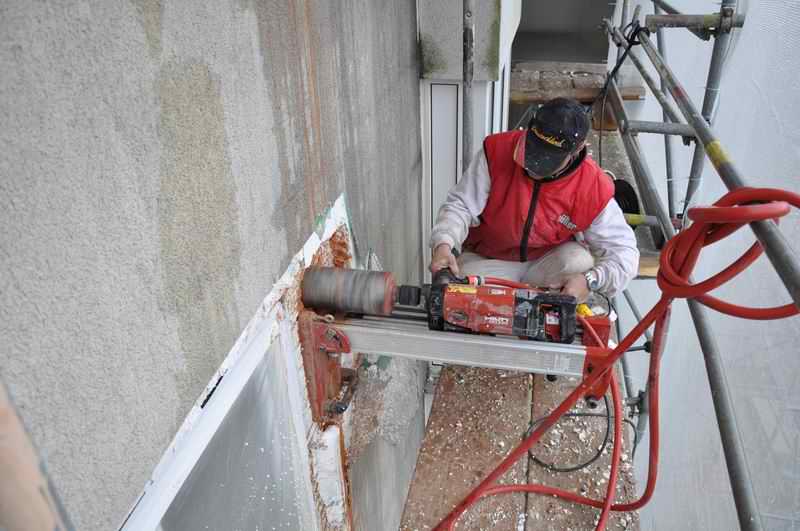
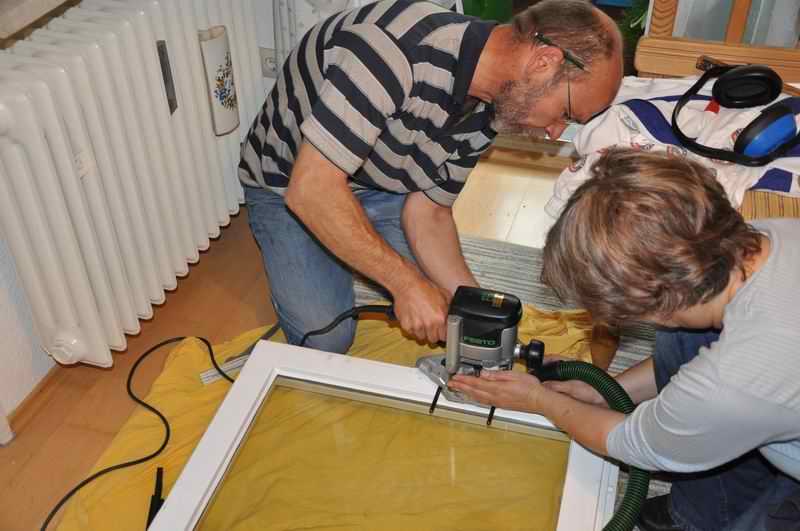
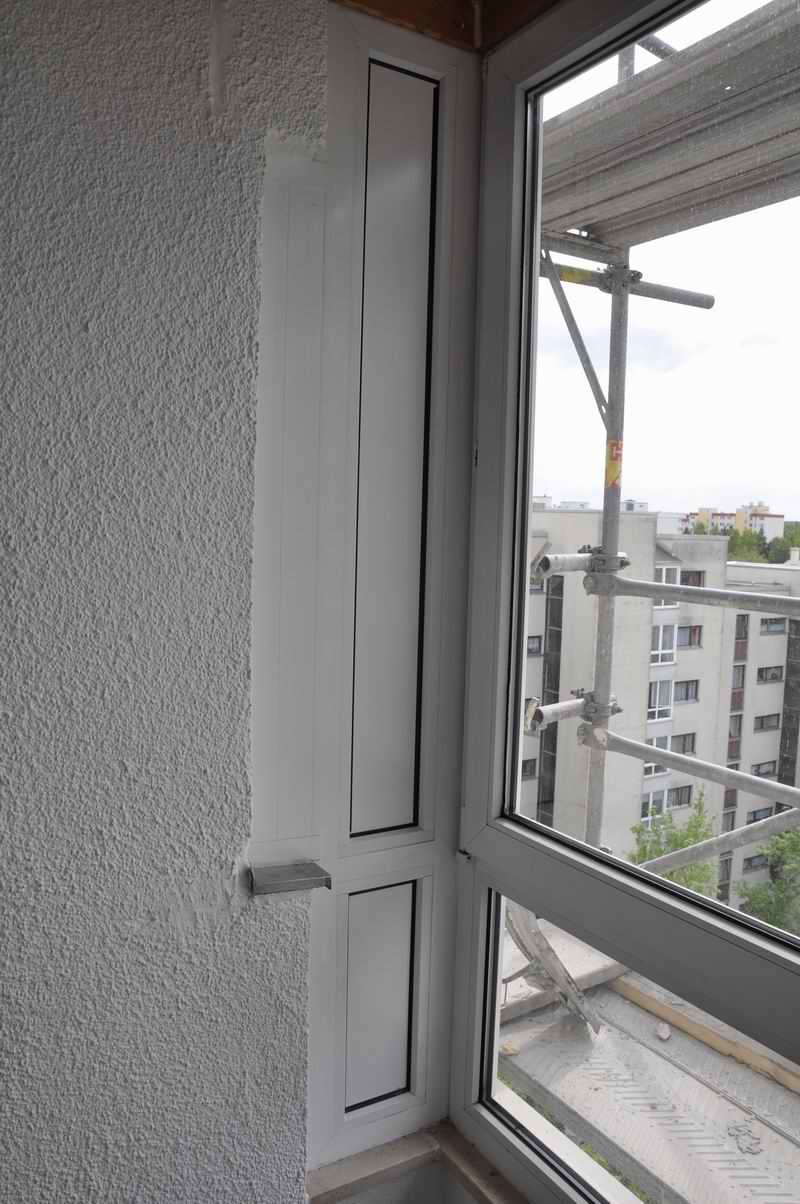
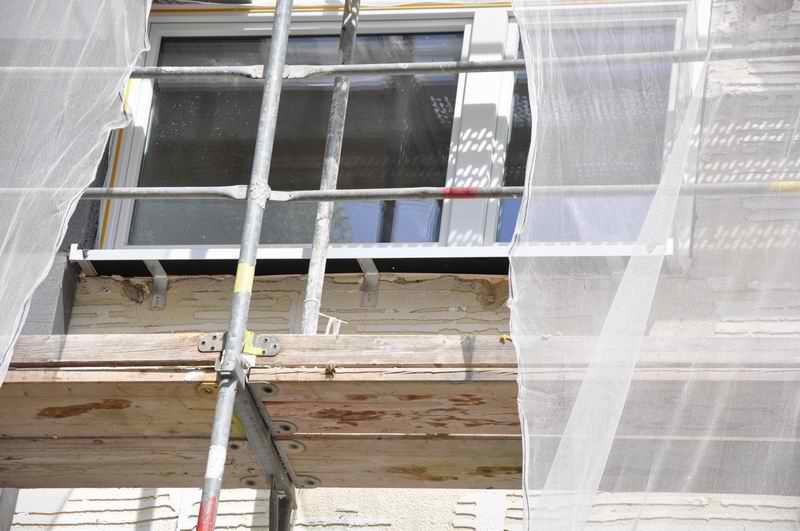
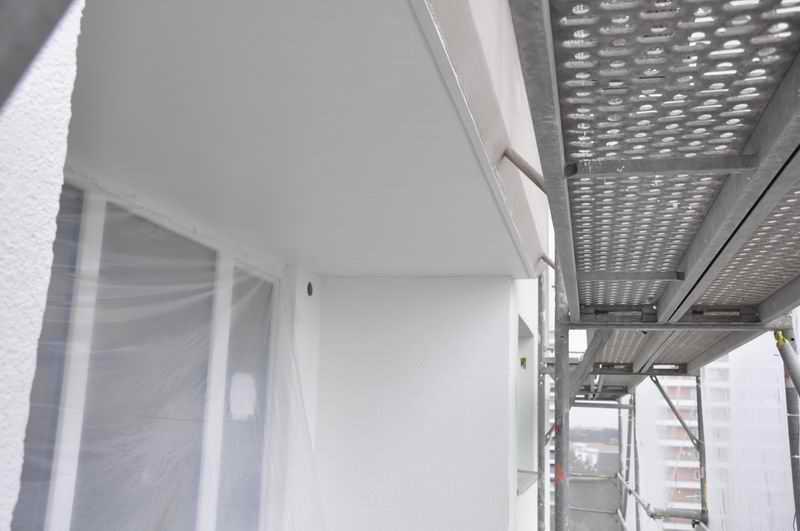
Die Fensterleibungen werden mit einer Flex eingeschnitten (der Staub wird an der Flex abgesaugt)
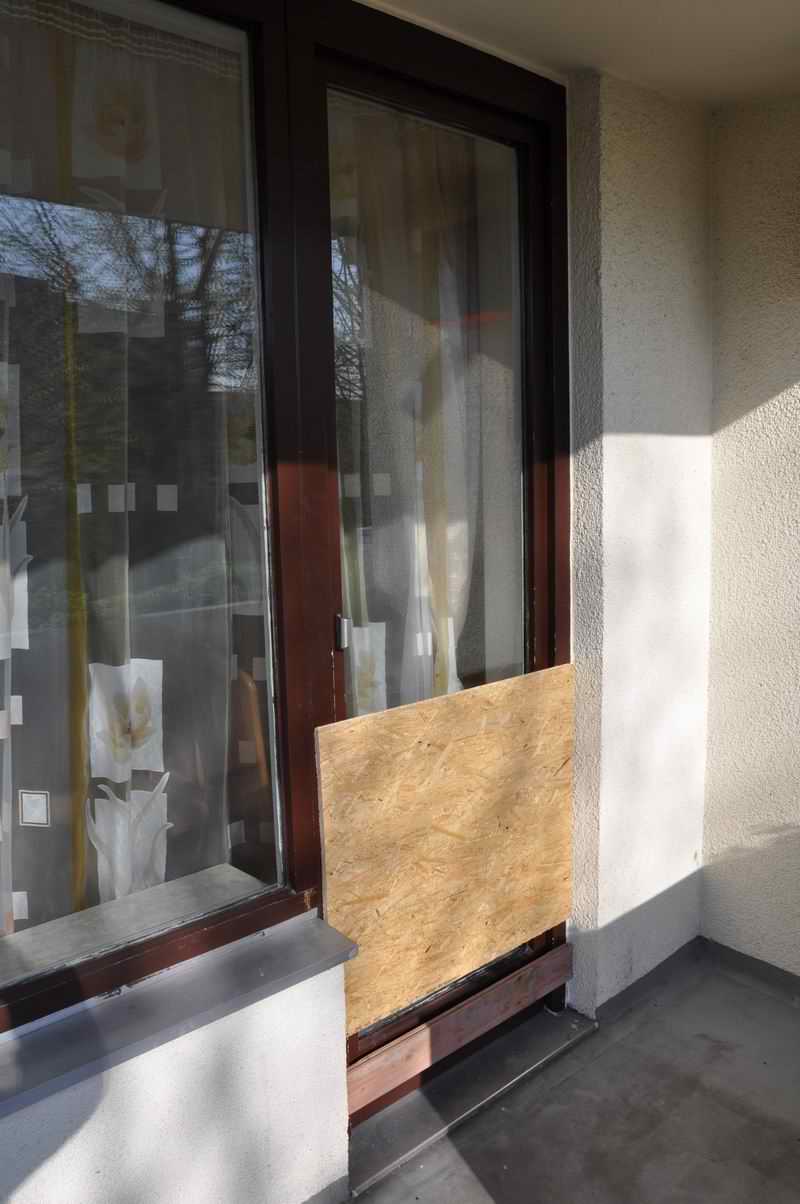
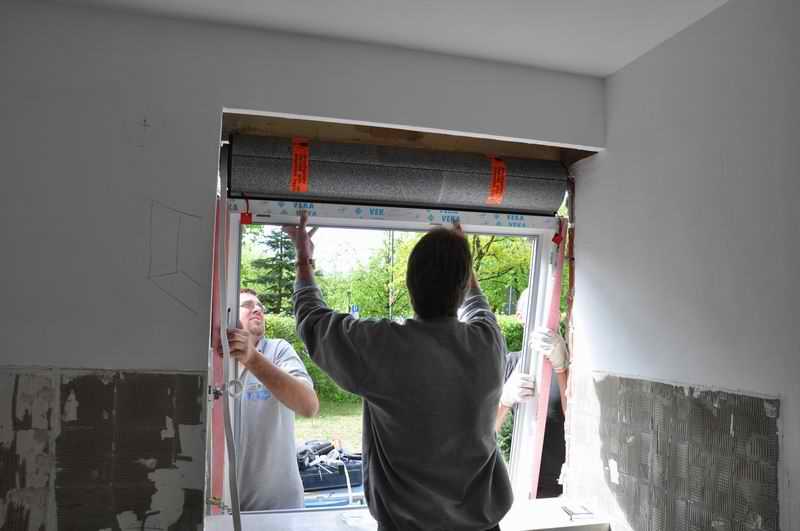
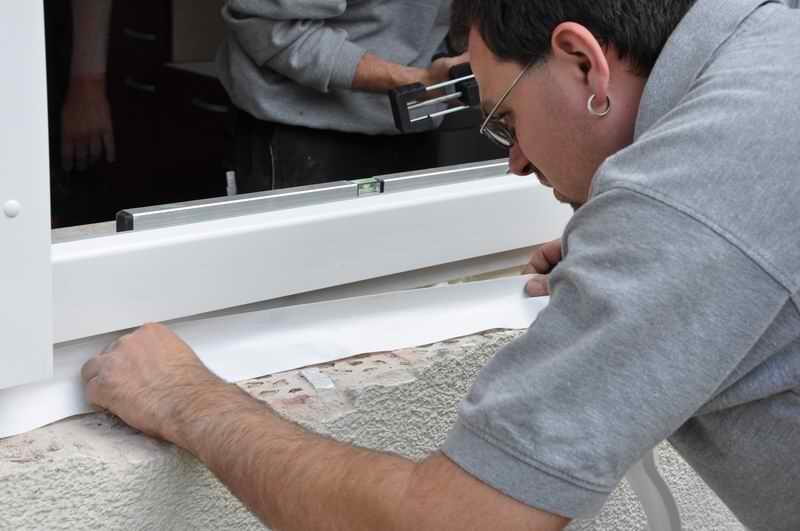
Anschließend wird der Fensterrahmen nach außen geschlagen (die äußere Fensterleibung wurde vorher bei geschlossenem Fenster von außen entfernt)
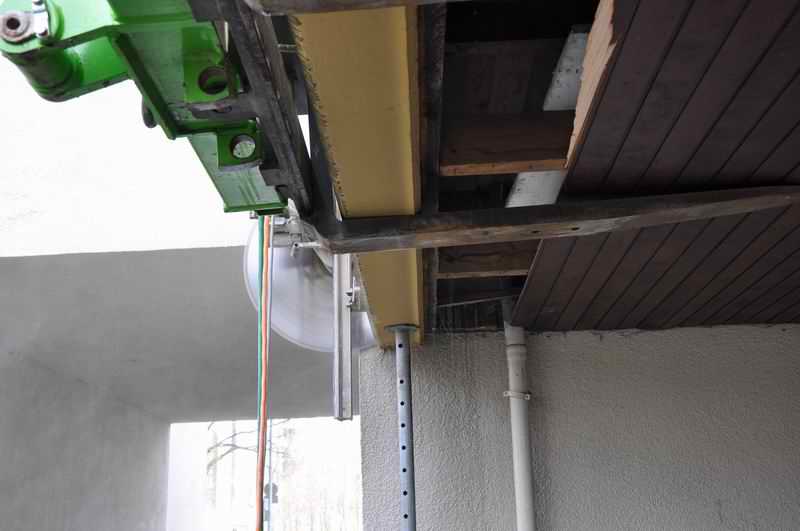
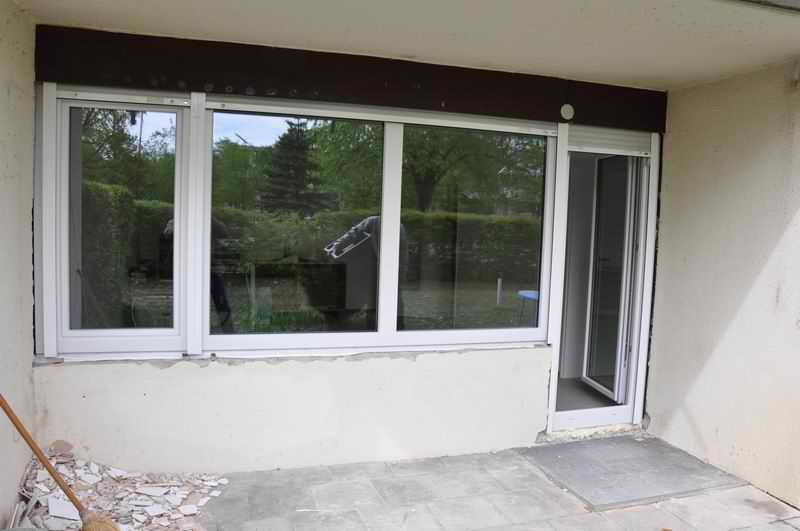
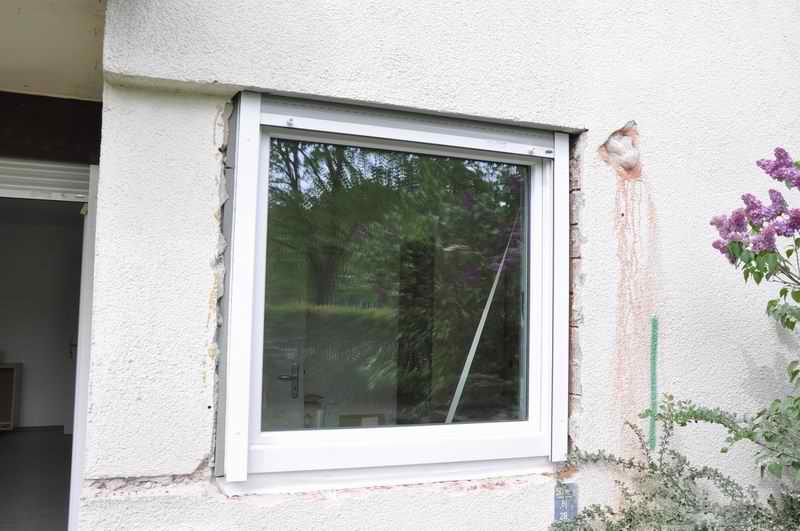
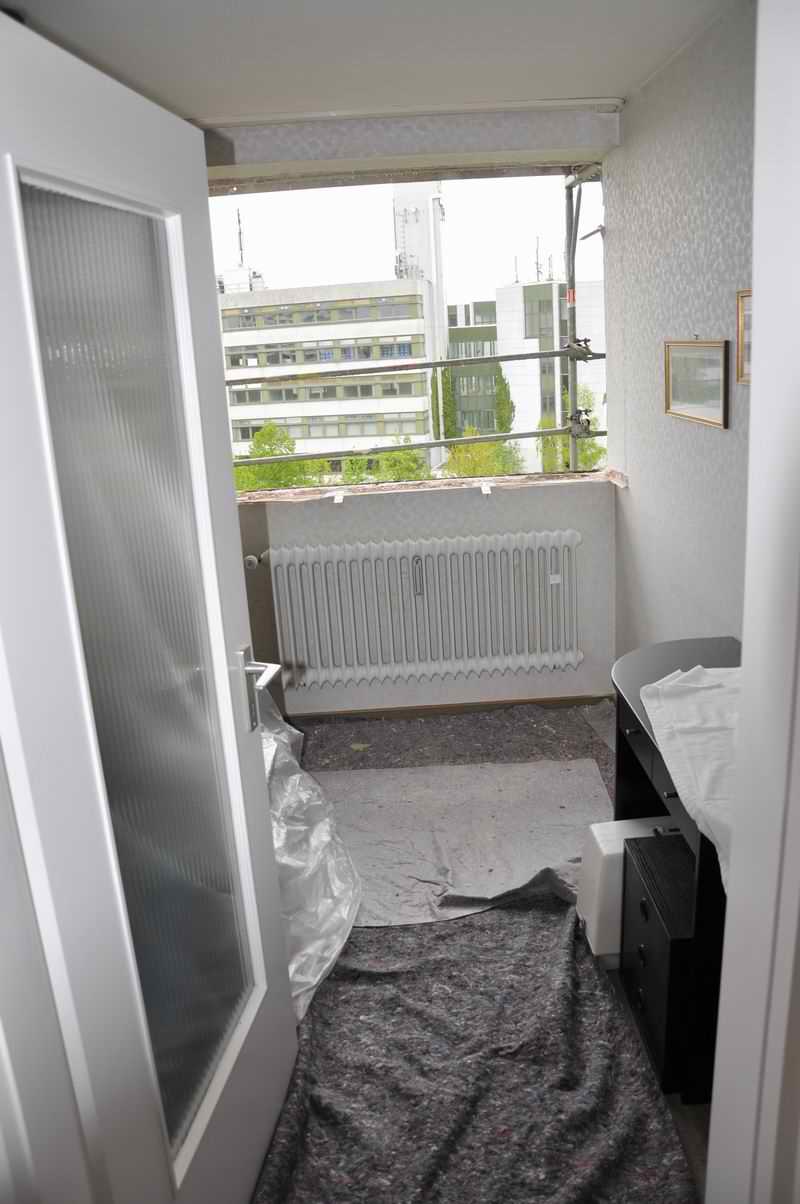
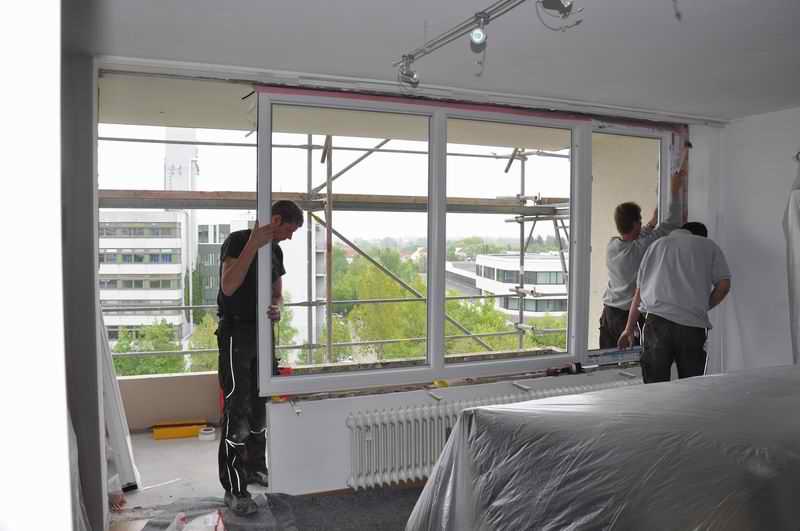
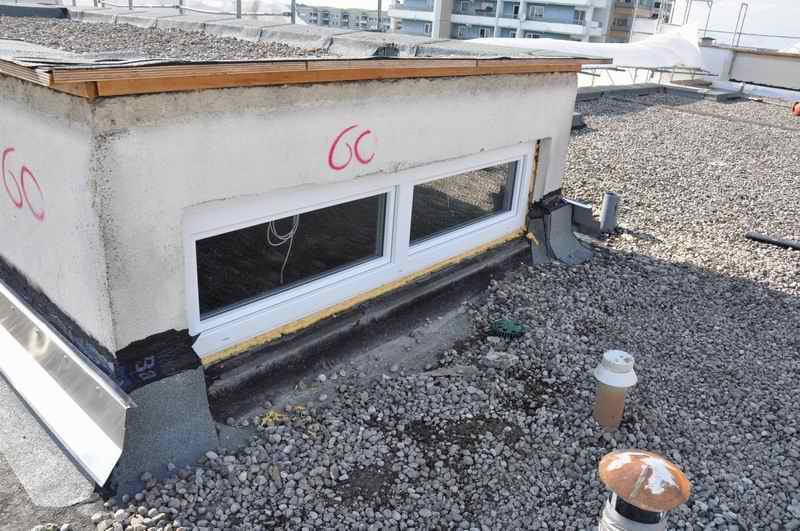
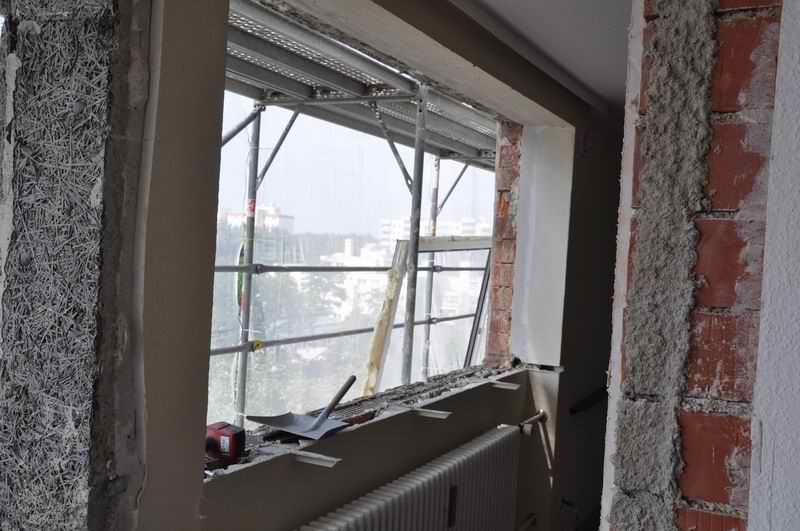
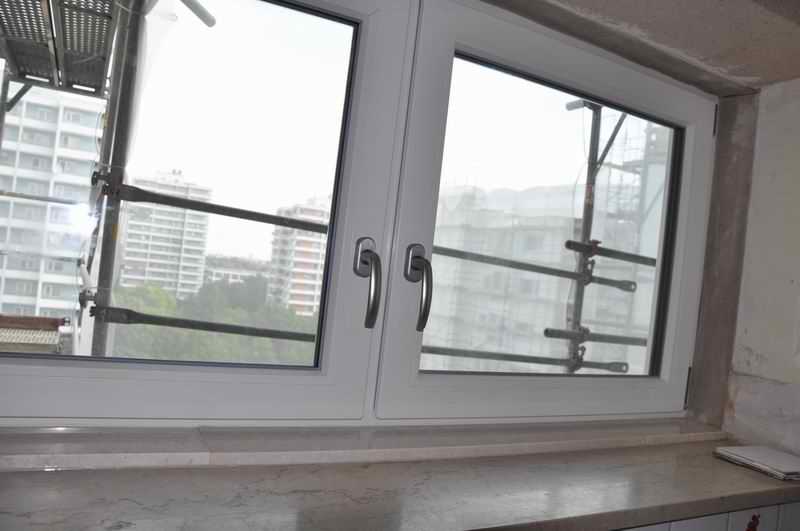
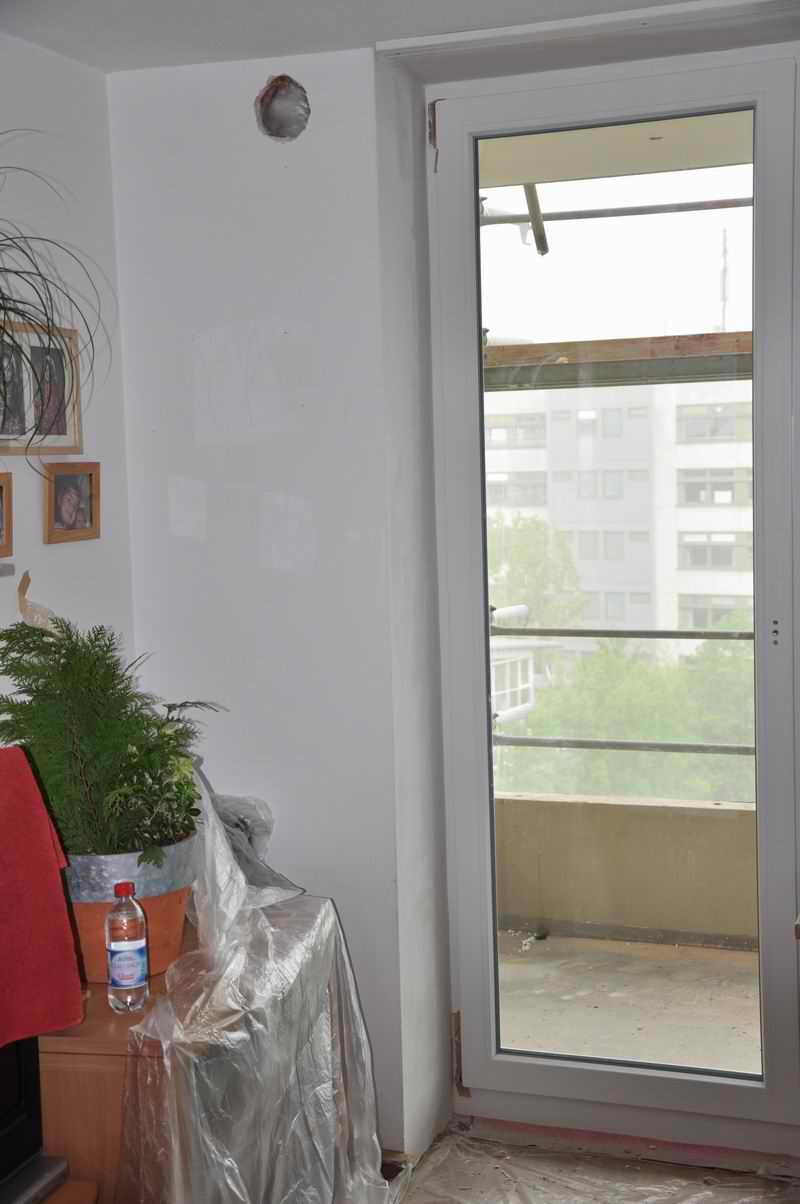
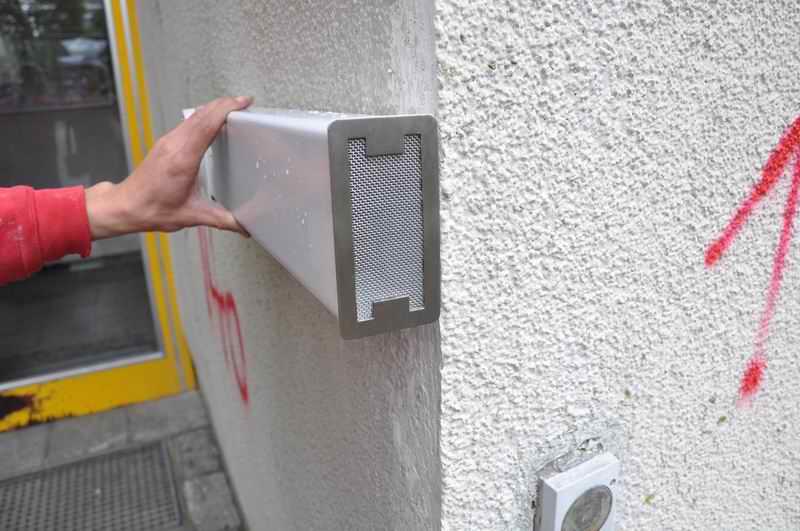
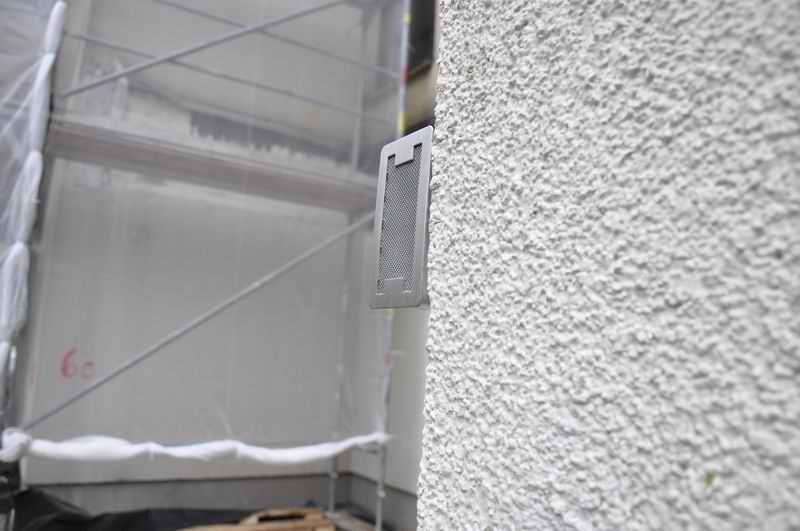
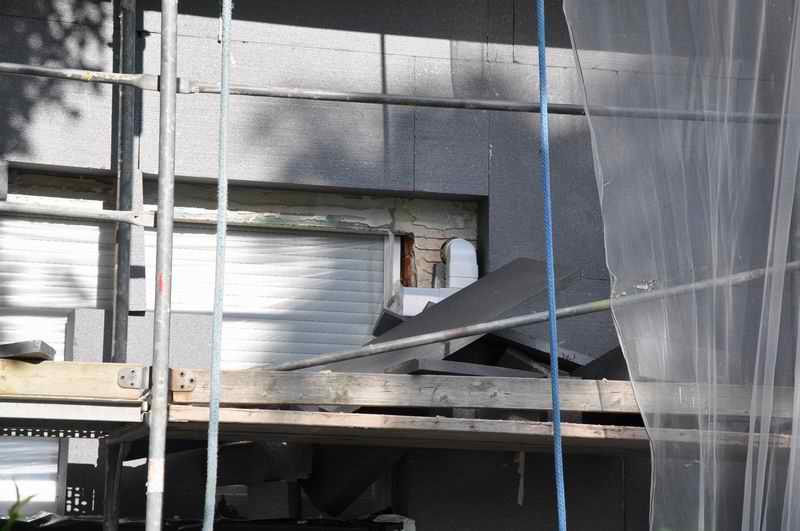
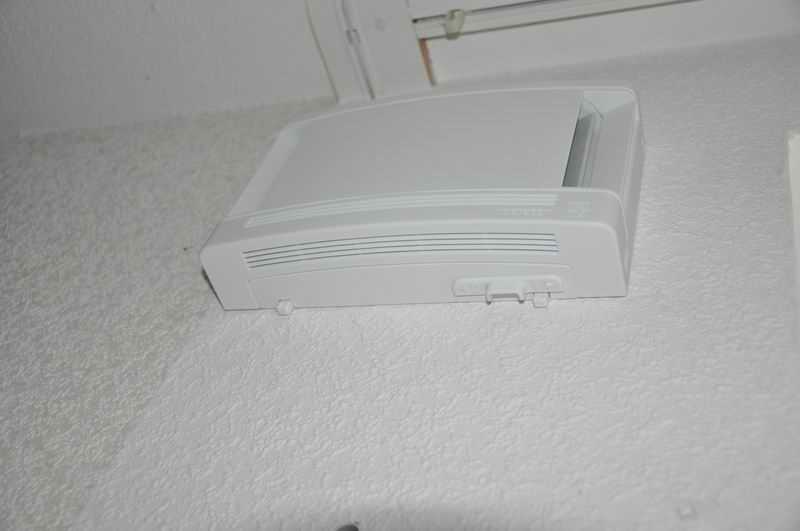
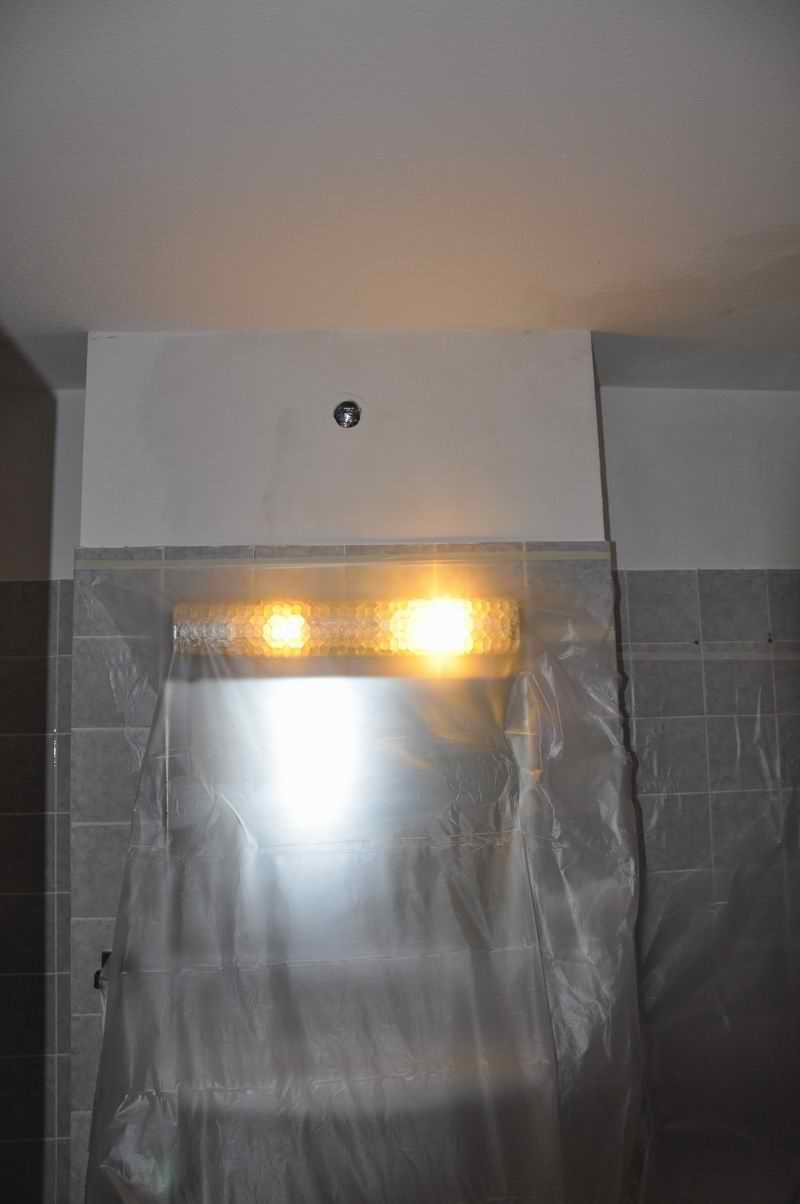
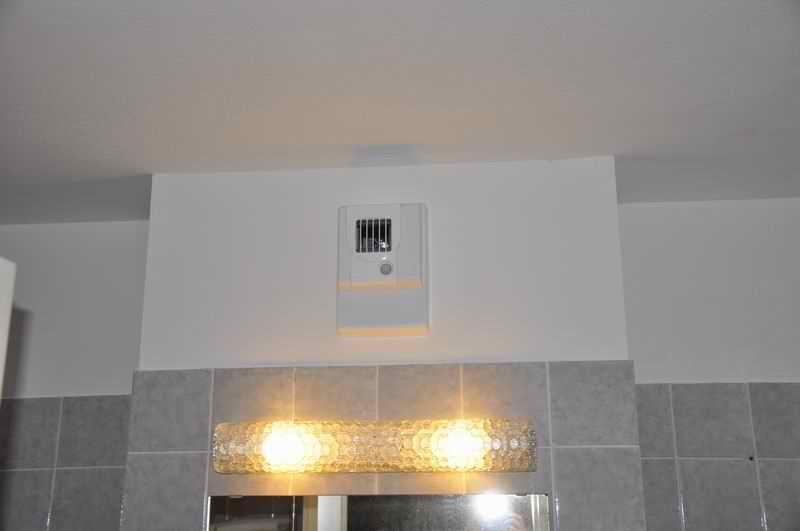
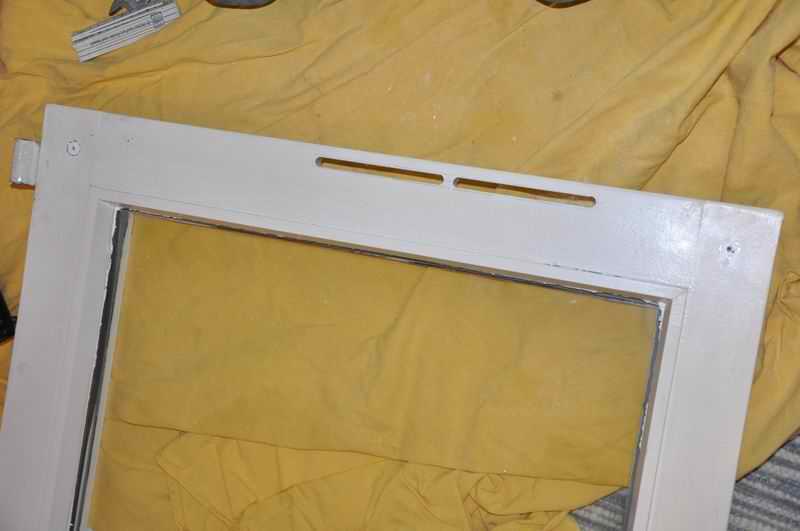
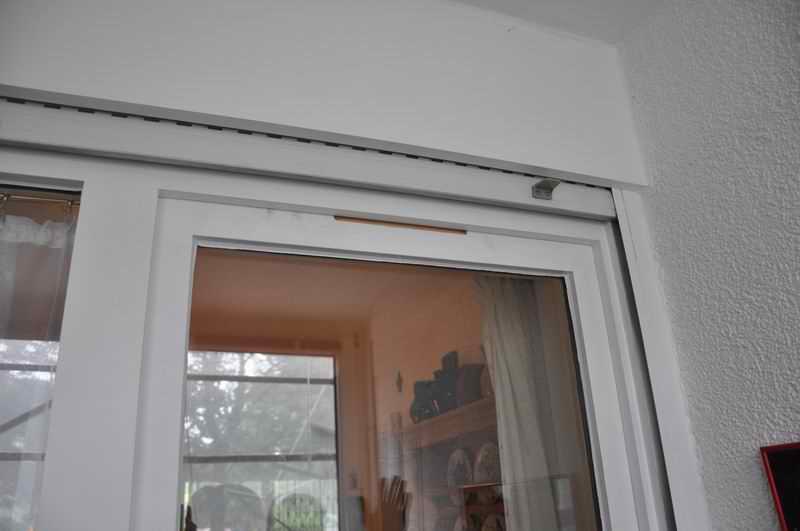
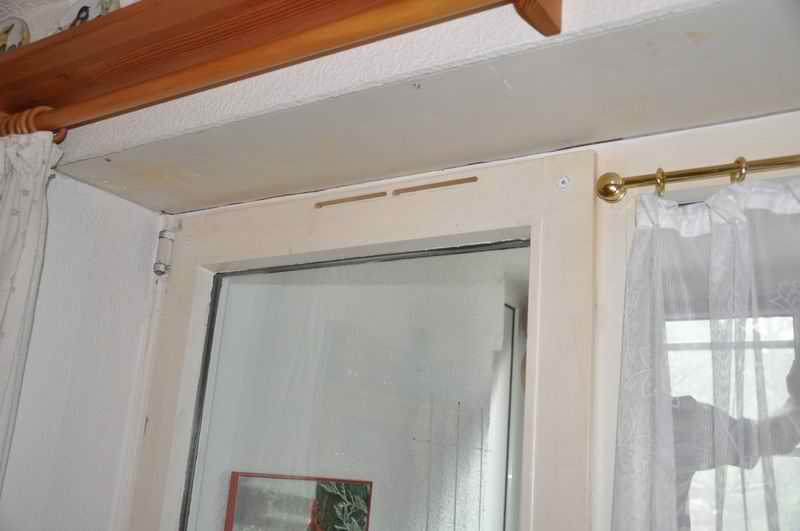
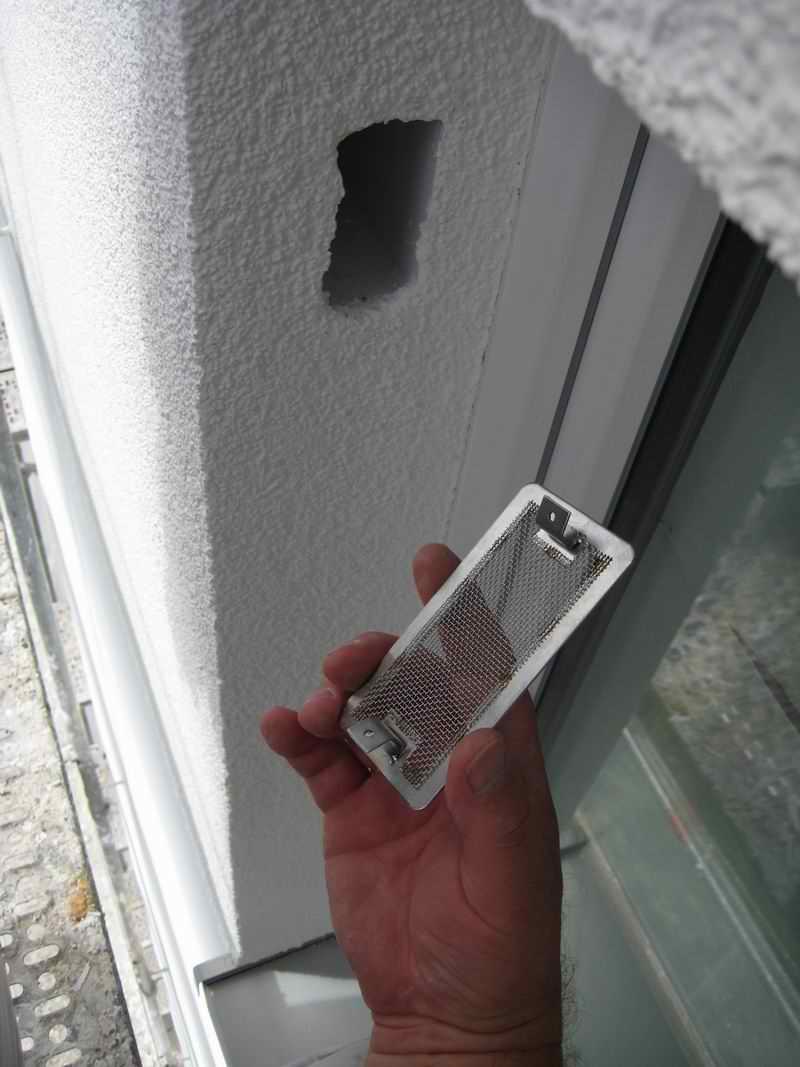
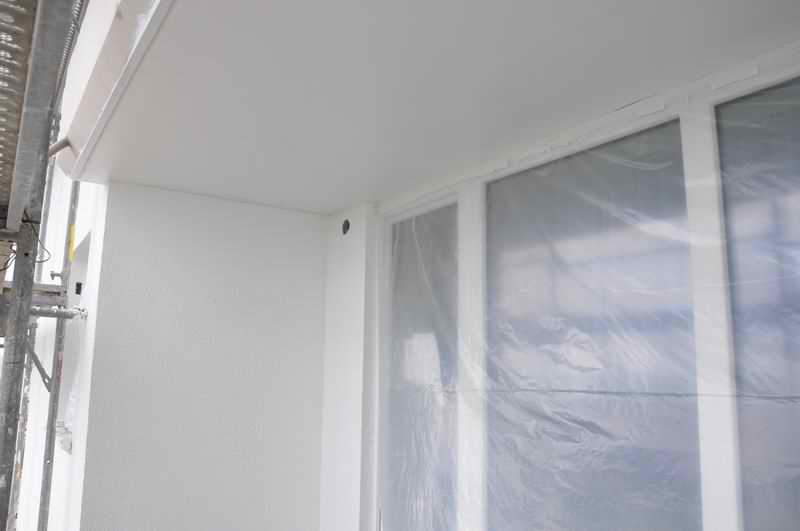
 

DSC_0605.JPG
DSC_0605.JPG
DSC_0607.JPG
DSC_0607.JPG
DSC_0608.JPG
DSC_0608.JPG
DSC_0609.JPG
DSC_0609.JPG

Die Böden der Wohnungen wurden mit einem Flies ausgelegt.
Die Schränke sind wenn möglich vom Mieter mit einer Folie abzuhängen:


DSC_0610.JPG
DSC_0610.JPG
DSC_0554.JPG
DSC_0554.JPG
DSC_0560.JPG
DSC_0560.JPG
DSC_0580.JPG
DSC_0580.JPG
Die neuen Fenster werden nach RAL sorgfältig eingebaut


DSC_0621.JPG
DSC_0621.JPG
Die alten Fenster landen im Container


DSC_0596.JPG
DSC_0596.JPG
DSC_0597.JPG
DSC_0597.JPG

Während des Einbaues und nach Einbau der Fenster wird der Arbeitsbereich der Wohnung gereinigt. (gesaugt)


DSC_0734.JPG
DSC_0734.JPG
DSC_0735.JPG
DSC_0735.JPG
Wenn die Fenster eingebaut sind und das Loch für das Lüftungssystem hergestellt ist wir die 
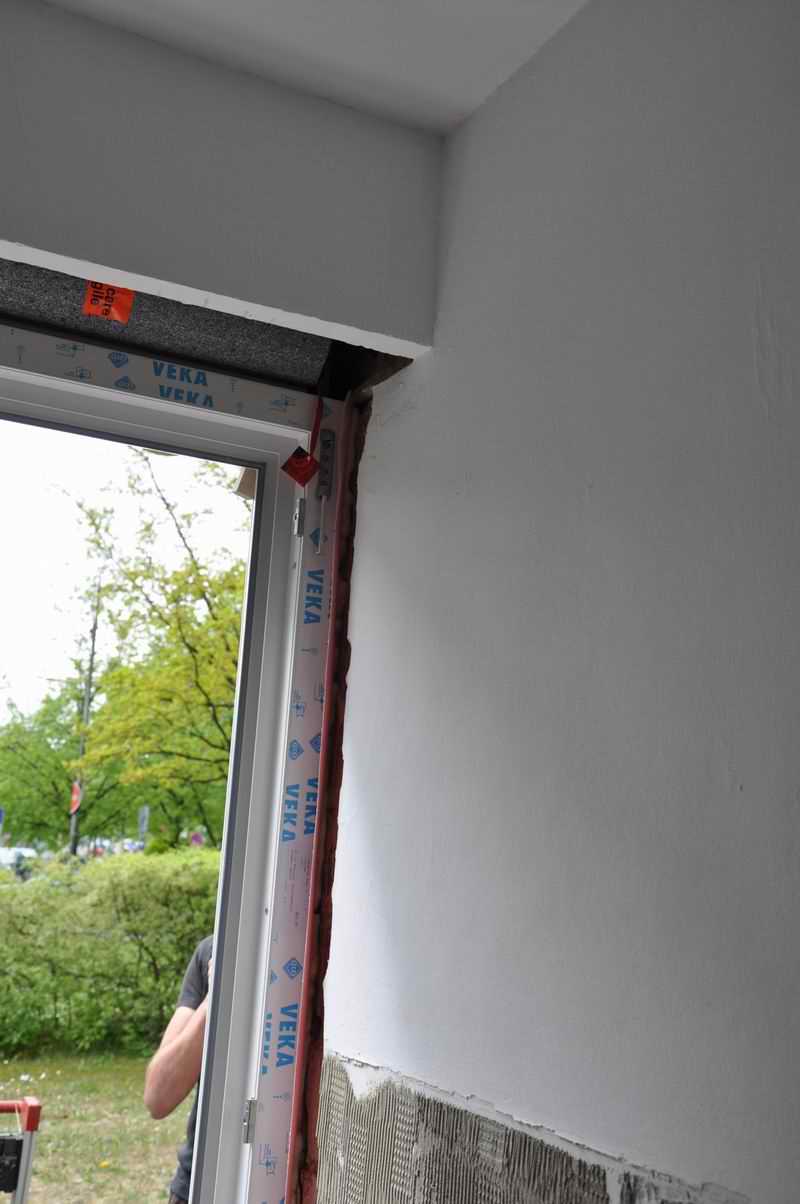
Fensterleibung wieder hergestellt.
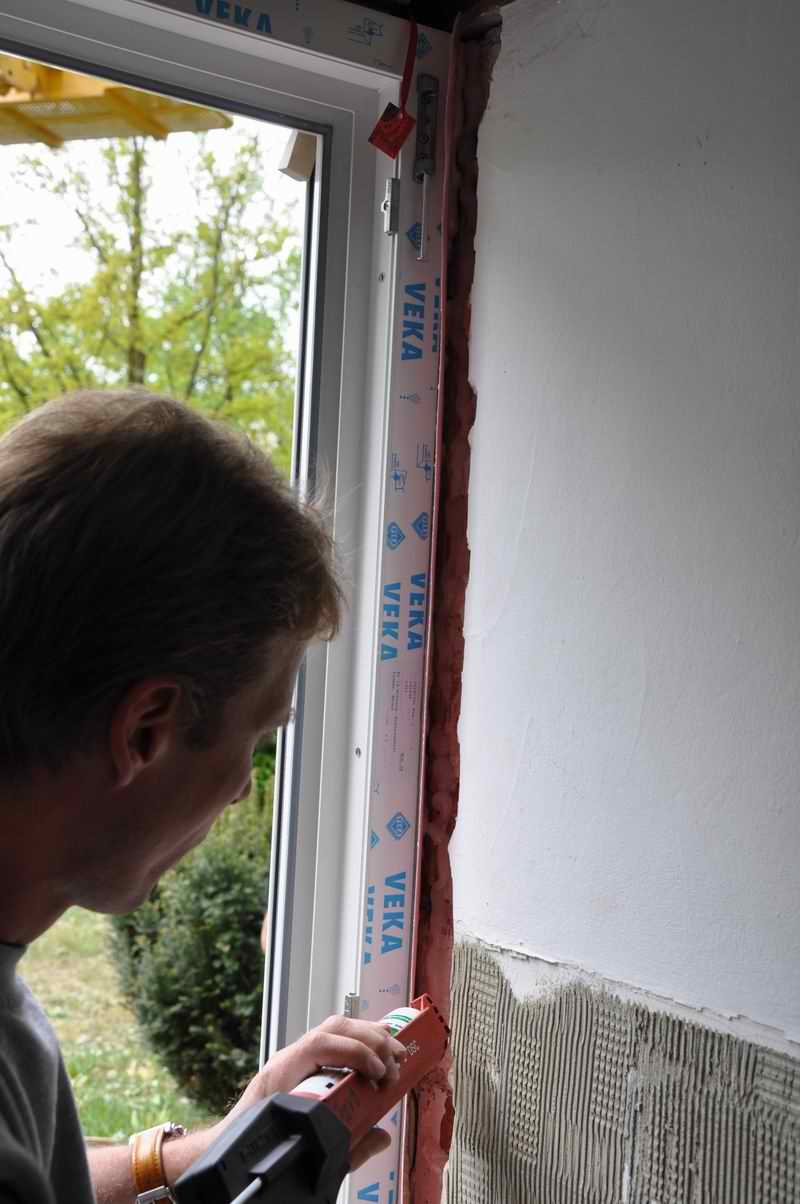
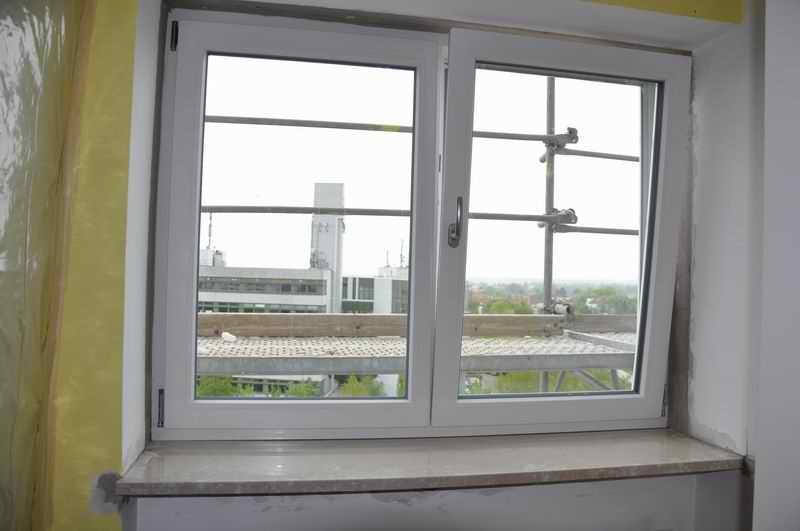
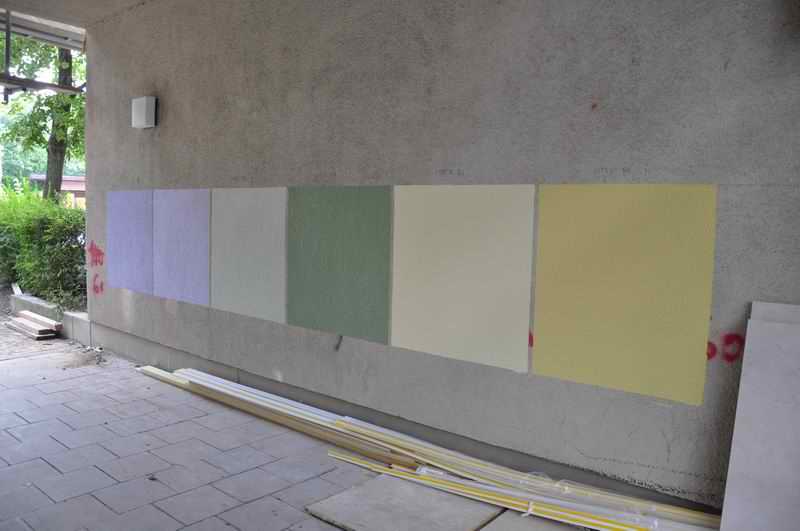
Wenn es möglich ist im selben Farbton oder dann in weiß
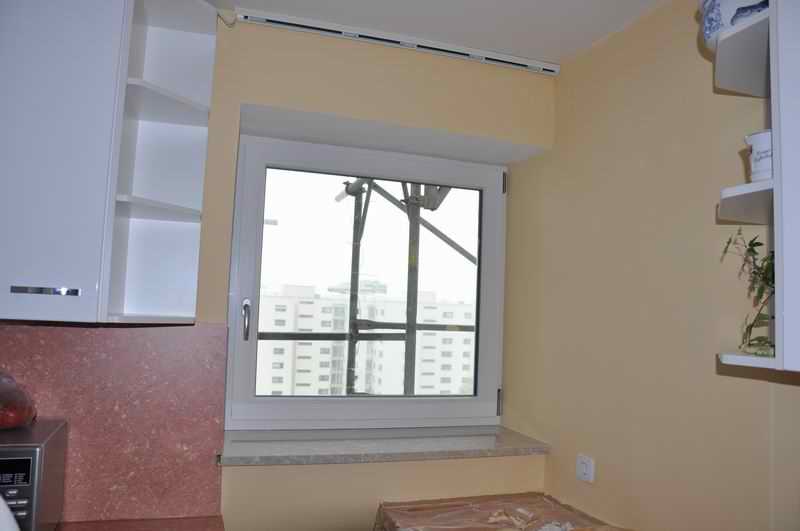
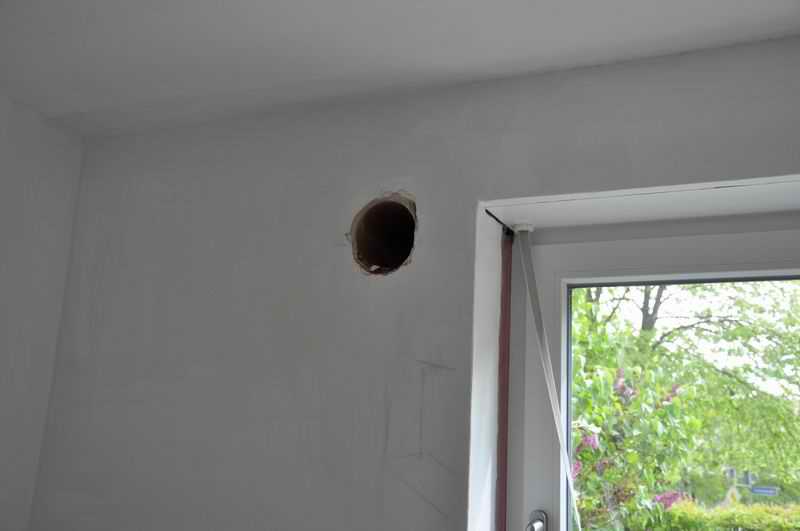
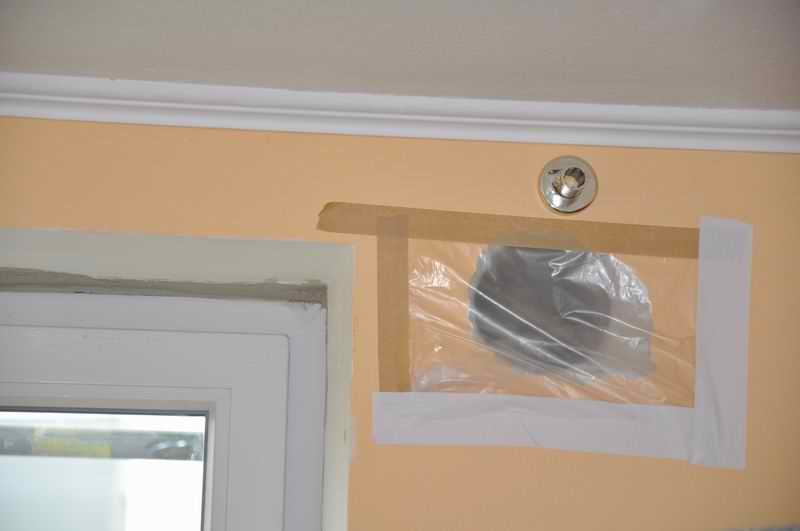
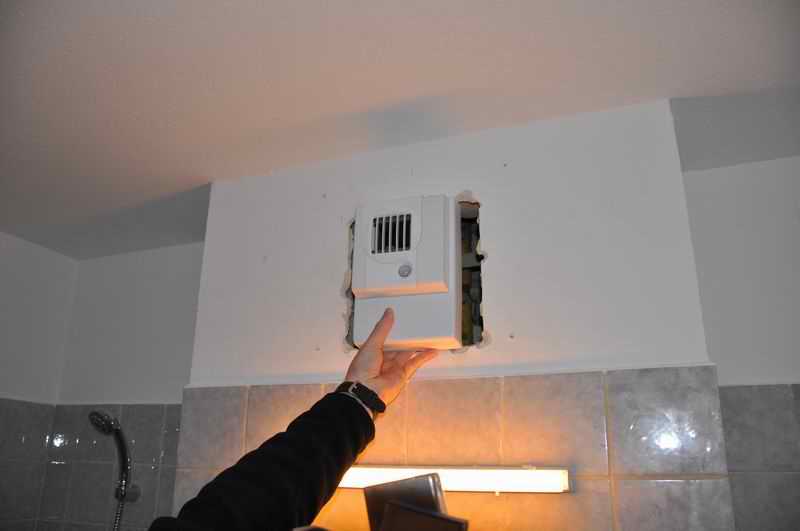
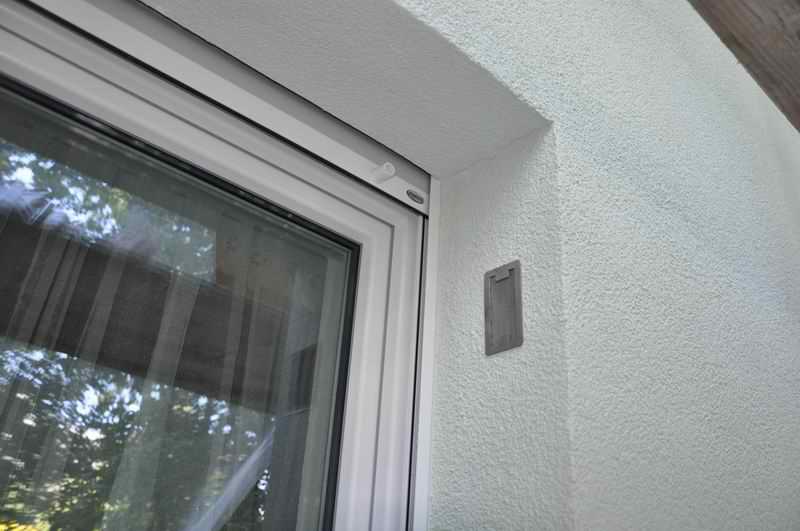
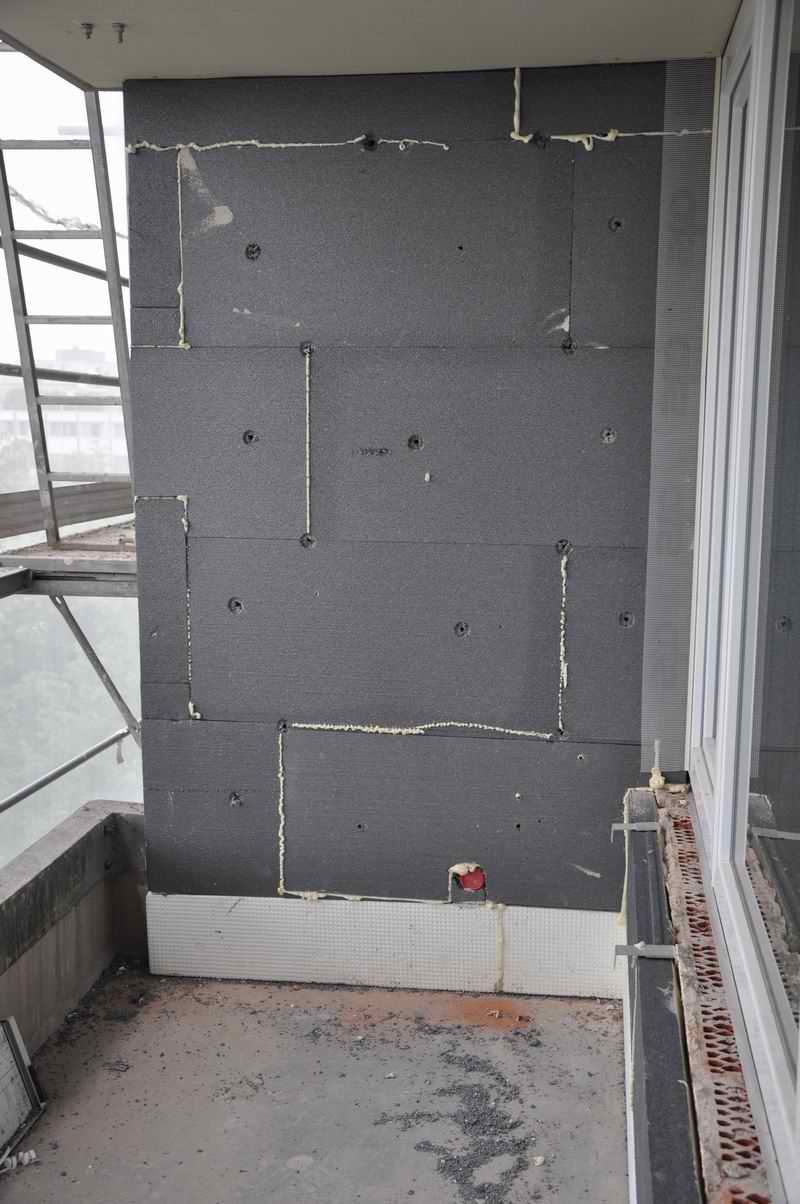
Um die Kernbohrung wenn möglich im selben Farbton oder einen Spiegel in weiß
   
DSC_0306.JPG
DSC_0306.JPG
Fenster in den Treppenhäusern


DSC_0321.JPG
DSC_0321.JPG
DSC_0323.JPG
DSC_0323.JPG
DSC_0325.JPG
DSC_0325.JPG
DSC_0326.JPG
DSC_0326.JPG
DSC_0327.JPG
DSC_0327.JPG
DSC_0330.JPG
DSC_0330.JPG


Kellerdeckendämmung

zur Dämmung der Kellerdecke ist es notwendig die Lampen an der Decke nach unten zu hängen.


DSC_0622.JPG
DSC_0622.JPG
DSC_0838.JPG
DSC_0838.JPG
     
             
Wohnraum Lüftung
DSC_0542.JPG
DSC_0542.JPG
DSC_0587.JPG
DSC_0587.JPG
Kernbohrungen für die Zuluftelemente neben den Fenster

 
DSC_0653.JPG
DSC_0653.JPG
DSC_0655.JPG
DSC_0655.JPG
DSC_0732.JPG
DSC_0732.JPG

Abluftelemente im Bad


DSC_0741.JPG
DSC_0741.JPG
DSC_0742.JPG
DSC_0742.JPG
DSC_0743.JPG
DSC_0743.JPG
DSC_0744.JPG
DSC_0744.JPG
DSC_0746.JPG
DSC_0746.JPG
DSC_0803.JPG
DSC_0803.JPG
DSC_0805.JPG
DSC_0805.JPG

Zuluftgitter wie sie dann in die Fensterleibungen eingebaut werden


Zuluft an der Fassade


020DSC_0047.JPG
020DSC_0047.JPG
034DSC_0234.JPG
034DSC_0234.JPG
033DSC_0233.JPG
033DSC_0233.JPG
035DSC_0235.JPG
035DSC_0235.JPG
   
021DSC_0061.JPG
021DSC_0061.JPG
029DSC_0219.JPG
029DSC_0219.JPG
036DSC_0239.JPG
036DSC_0239.JPG

Abluftelemt im Bad


003DSC_0878.JPG
003DSC_0878.JPG
056DSC_0255.JPG
056DSC_0255.JPG

Lüftermotor und
Rohre im Kaltdach


Fräsung an der Balkontüre für das Zuluftelement    
042DSC_0360.JPG
042DSC_0360.JPG
043DSC_0361.JPG
043DSC_0361.JPG
044DSC_0363.JPG
044DSC_0363.JPG
045DSC_0368.JPG
045DSC_0368.JPG
   
046DSC_0369.JPG
046DSC_0369.JPG
047DSC_0370.JPG
047DSC_0370.JPG
048DSC_0371.JPG
048DSC_0371.JPG
     
049DSC_0373.JPG
049DSC_0373.JPG

Im Wintergarten wird
ein Teil der oberen Fensterdichtung entfernt


DSC_0365.JPG
DSC_0365.JPG
IMG_3298.JPG
IMG_3298.JPG
Zuluftelemente neben den Fenstern


DSC_0305.JPG
DSC_0305.JPG
Dachhauben für die Abluft


DSC_0353.JPG
DSC_0353.JPG
DSC_0350.JPG
DSC_0350.JPG
DSC_0355.JPG
DSC_0355.JPG
Motor für die Abluft
Hier auf Eichenstr. 19


Wärmedämmung der obersten Geschossdecke
DSC_0749.JPG
DSC_0749.JPG
DSC_0752E19WHGrechtsWandzurWHGMitte.JPG.JPG
DSC_0752E19WHGrechts

WandzurWHGMitte.JPG.JPG
DSC_0750E19WHGrechtsWintergarten.JPG.JPG
DSC_0750E19WHGrechts

Wintergarten.JPG.JPG
DSC_0751E19WHGrechtsWandzurWHGMitte.JPG.JPG
DSC_0751E19WHGrechts

WandzurWHGMitte.JPG.JPG
DSC_0753E19WHGrechtsWandzu WHGMitte.JPG.JPG
DSC_0753E19WHGrechts

Wandzu WHGMitte.JPG.JPG
DSC_0757E19WHGrechtsWintergarten.JPG.JPG
DSC_0757E19WHGrechts

Wintergarten.JPG.JPG
 
DSC_0762E19WHGrechtsBlichnachSueden.JPG.JPG
DSC_0762E19WHGrechts

BlichnachSueden.JPG.JPG
DSC_0760E19WHGrechtsWandzuE17.JPG.JPG
DSC_0760E19WHGrechts

WandzuE17.JPG.JPG
Momentan ist auf der obersten Geschoßdecke Steinwolle ausgelegt, diese wird nochmals überdämmt        
             
             
Wintergärten
DSC_0757E19WHGrechtsWintergarten.JPG.JPG
DSC_0757E19WHGrechts

Wintergarten.JPG.JPG
DSC_0750E19WHGrechtsWintergarten.JPG.JPG
DSC_0750E19WHGrechts

Wintergarten.JPG.JPG

Das Mauerwerk, dass im Wintergarten nach oben in das Kaltdach ragt wird im Kaltdach gedämmt.


DSC_0550.JPG
DSC_0550.JPG

Die seitlichen Fenster im Wintergarten werden durch eine Paneele ersetzt


DSC_0845.JPG
DSC_0845.JPG
DSC_0847.JPG
DSC_0847.JPG
DSC_0850.JPG
DSC_0850.JPG

Der Wintergarten wird außen zusätzlich gedämmt und es kommt ein neues Fensterblech dran.


014DSC_0022.JPG
014DSC_0022.JPG
           
             
Dachdeckerarbeiten
DSC_0705.JPG
DSC_0705.JPG
DSC_0706.JPG
DSC_0706.JPG
DSC_0707.JPG
DSC_0707.JPG
DSC_0764.JPG
DSC_0764.JPG

Die alten Attikableche werden entfernt und durch breitere, die über die neuen Wärmedämmung reichen, ersetzt


002DSC_0870.JPG
002DSC_0870.JPG
015DSC_0030.JPG
015DSC_0030.JPG
016DSC_0031.JPG
016DSC_0031.JPG
017DSC_0036.JPG
017DSC_0036.JPG
027DSC_0103 L 6 li.JPG
055DSC_0244.JPG
055DSC_0244.JPG
 
IMG_3294.JPG
IMG_3294.JPG
IMG_3296.JPG
IMG_3296.JPG
         
             
Wärmedämmverbundsystem/Fassade
DSC_0797.JPG
DSC_0797.JPG
DSC_0809.JPG
DSC_0809.JPG
DSC_0816.JPG
DSC_0816.JPG
001DSC_0866.JPG
001DSC_0866.JPG
013DSC_0931.JPG
013DSC_0931.JPG
019DSC_0044.JPG
019DSC_0044.JPG
051DSC_0228.JPG
051DSC_0228.JPG
009DSC_0896.JPG
009DSC_0896.JPG
004DSC_0884.JPG
004DSC_0884.JPG
023DSC_0087.JPG
023DSC_0087.JPG
025DSC_0097.JPG
025DSC_0097.JPG
053DSC_0233_2.JPG
053DSC_0233_2.JPG
052DSC_0232.JPG
052DSC_0232.JPG
014DSC_0022.JPG
014DSC_0022.JPG
012DSC_0922.JPG
012DSC_0922.JPG
030DSC_0221.JPG
030DSC_0221.JPG
031DSC_0222.JPG
031DSC_0222.JPG
041DSC_0314.JPG
041DSC_0314.JPG
054DSC_0235_2.JPG
054DSC_0235_2.JPG
057DSC_0266.JPG
057DSC_0266.JPG
       
DSC_0305.JPG
DSC_0305.JPG
DSC_0353.JPG
DSC_0353.JPG
DSC_0350.JPG
DSC_0350.JPG
DSC_0355.JPG
DSC_0355.JPG
IMG_3298.JPG
IMG_3298.JPG
DSC_0342.JPG
DSC_0342.JPG
DSC_0291.JPG
DSC_0291.JPG
DSC_0302.JPG
DSC_0302.JPG
DSC_0304.JPG
DSC_0304.JPG
DSC_0292.JPG
DSC_0292.JPG
DSC_0293.JPG
DSC_0293.JPG
DSC_0294.JPG
DSC_0294.JPG
DSC_0295.JPG
DSC_0295.JPG
DSC_0341.JPG
DSC_0341.JPG
DSC_0301.JPG
DSC_0301.JPG
DSC_0310.JPG
DSC_0310.JPG
DSC_0319.JPG
DSC_0319.JPG
DSC_0320.JPG
DSC_0320.JPG
DSC_0356.JPG
DSC_0356.JPG
DSC_0361.JPG
DSC_0361.JPG
DSC_0357.JPG
DSC_0357.JPG
DSC_0358.JPG
DSC_0358.JPG
DSC_0363.JPG
DSC_0363.JPG
DSC_0368.JPG
DSC_0368.JPG
DSC_0366.JPG
DSC_0366.JPG
IMG_3304.JPG
IMG_3304.JPG
IMG_3305.JPG
IMG_3305.JPG
 
             
Glasdächer und  Abändern Balkonbrüstung
DSC_0699.JPG
DSC_0699.JPG
DSC_0701.JPG
DSC_0701.JPG
DSC_0703.JPG
DSC_0703.JPG

Muster des Balkongeländers;
Umlaufender Glasrahmen in Aluminium mit 3 satinierten Glasscheiben und einem Handlauf


      Sprechanlage      
DSC_0709.JPG
DSC_0709.JPG

Muster der Anläuteplatte;
auf der linken Seite kommt noch die Stockwerksangaben
oben ist die Videokamera


Elektroinstallationsarbeiten
DSC_0795.JPG
DSC_0795.JPG
DSC_0796.JPG
DSC_0796.JPG

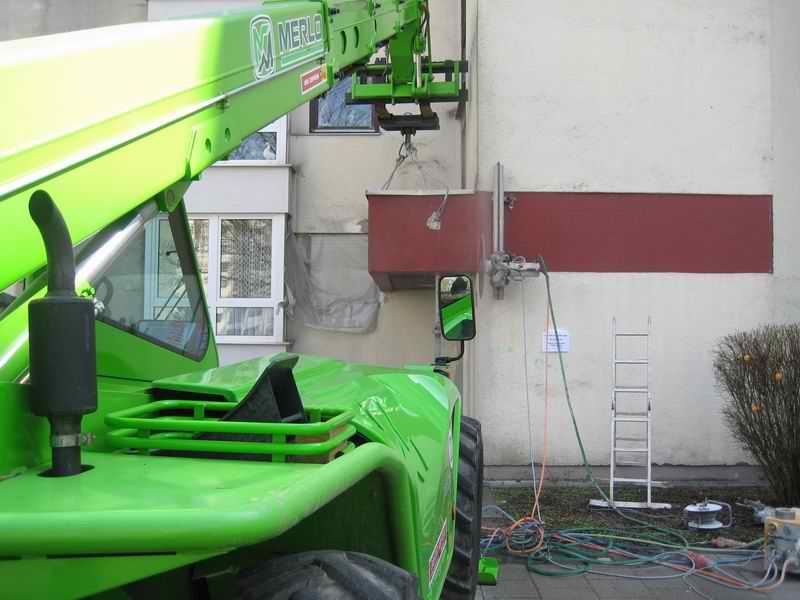
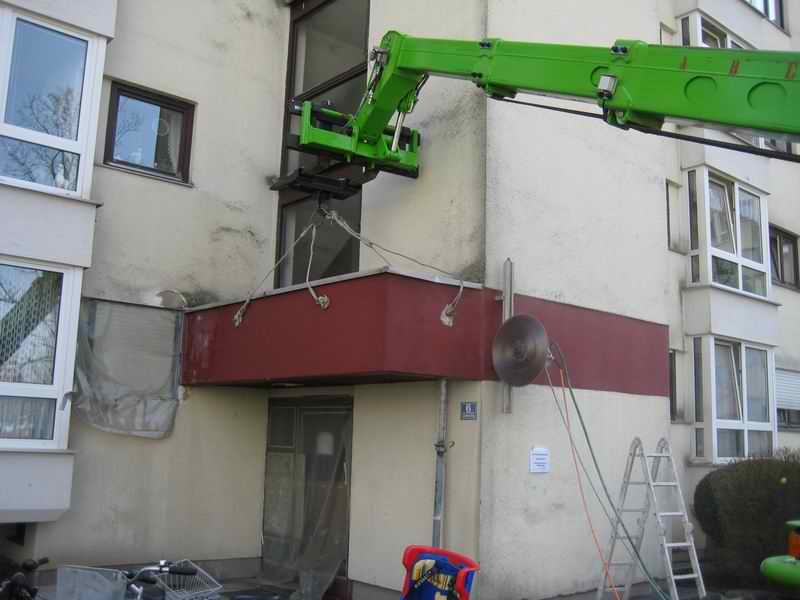
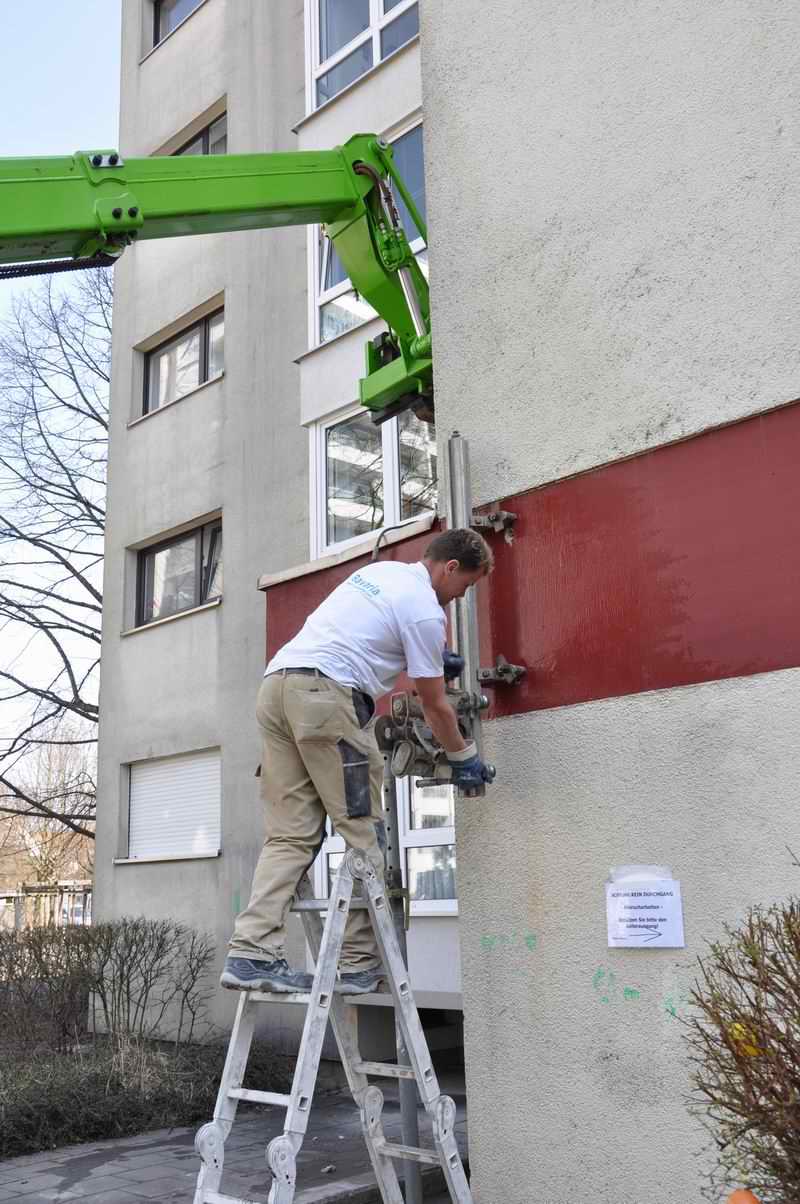
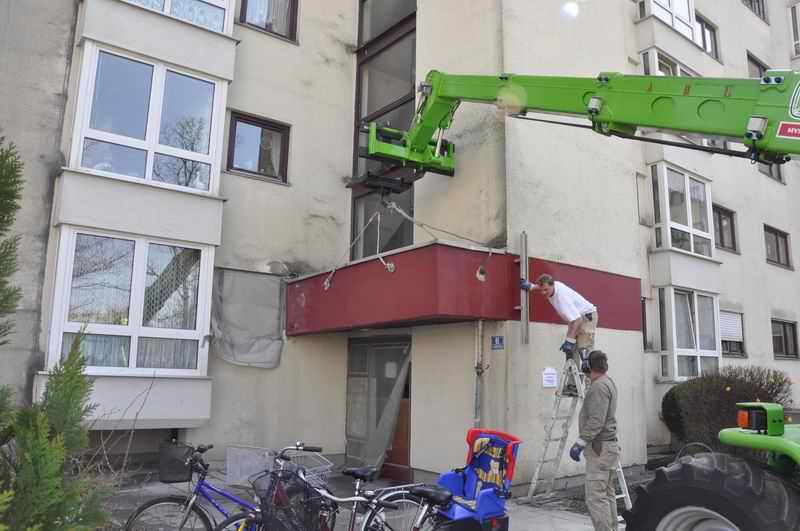
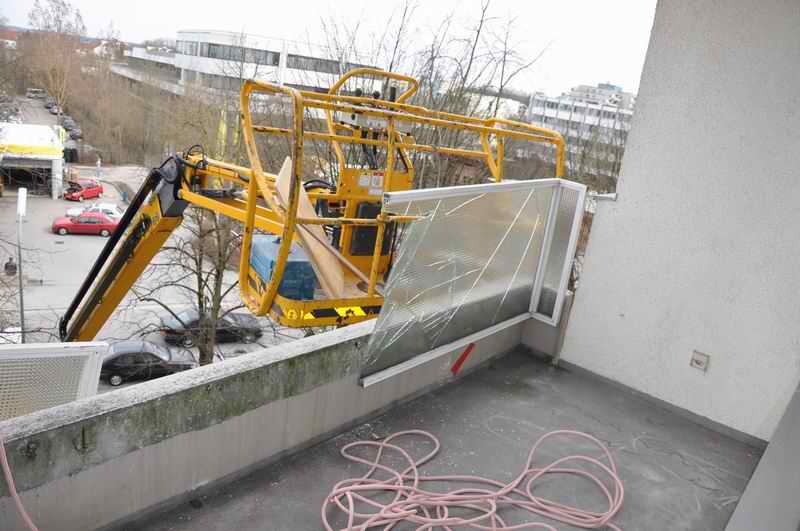
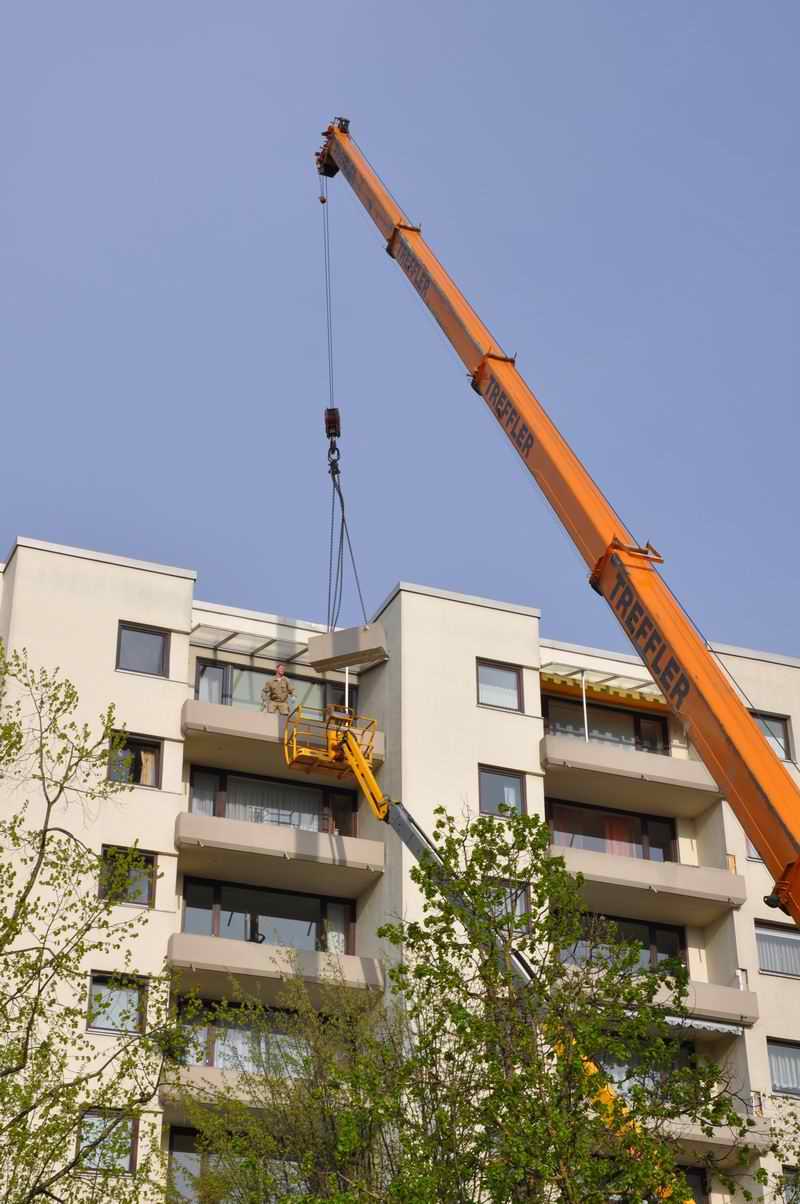
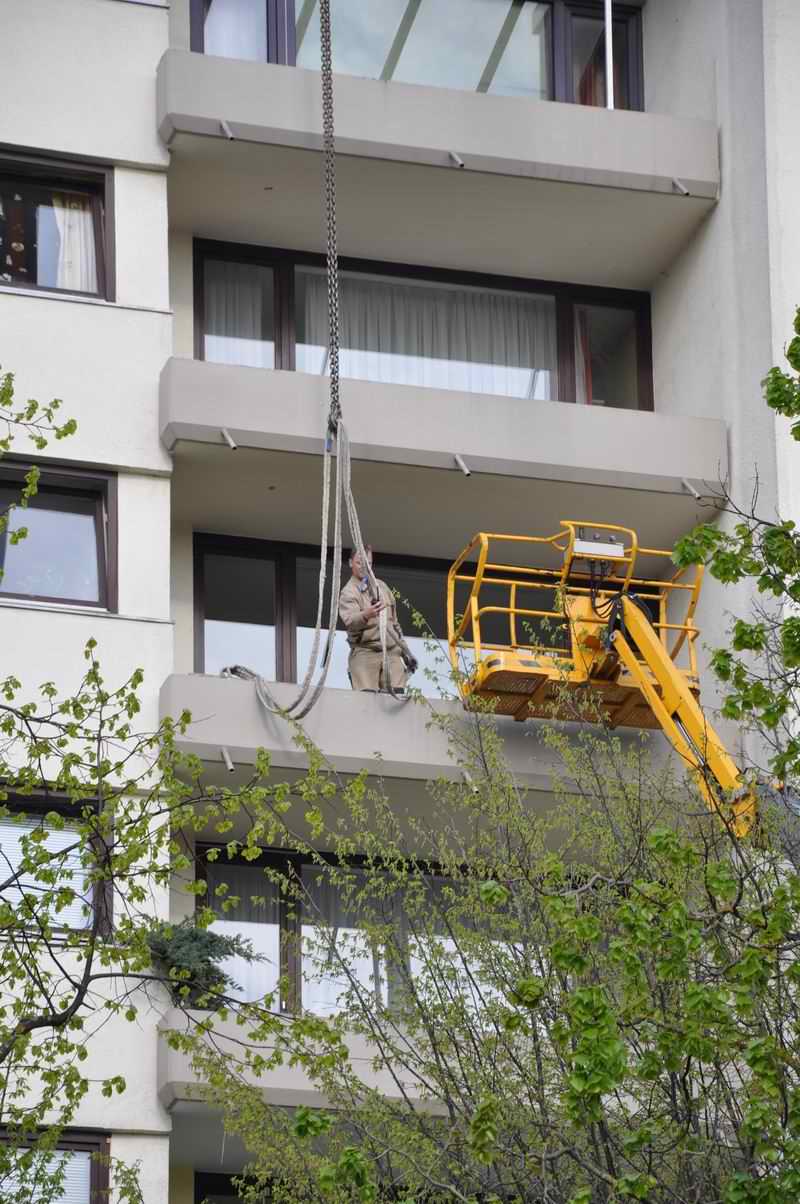
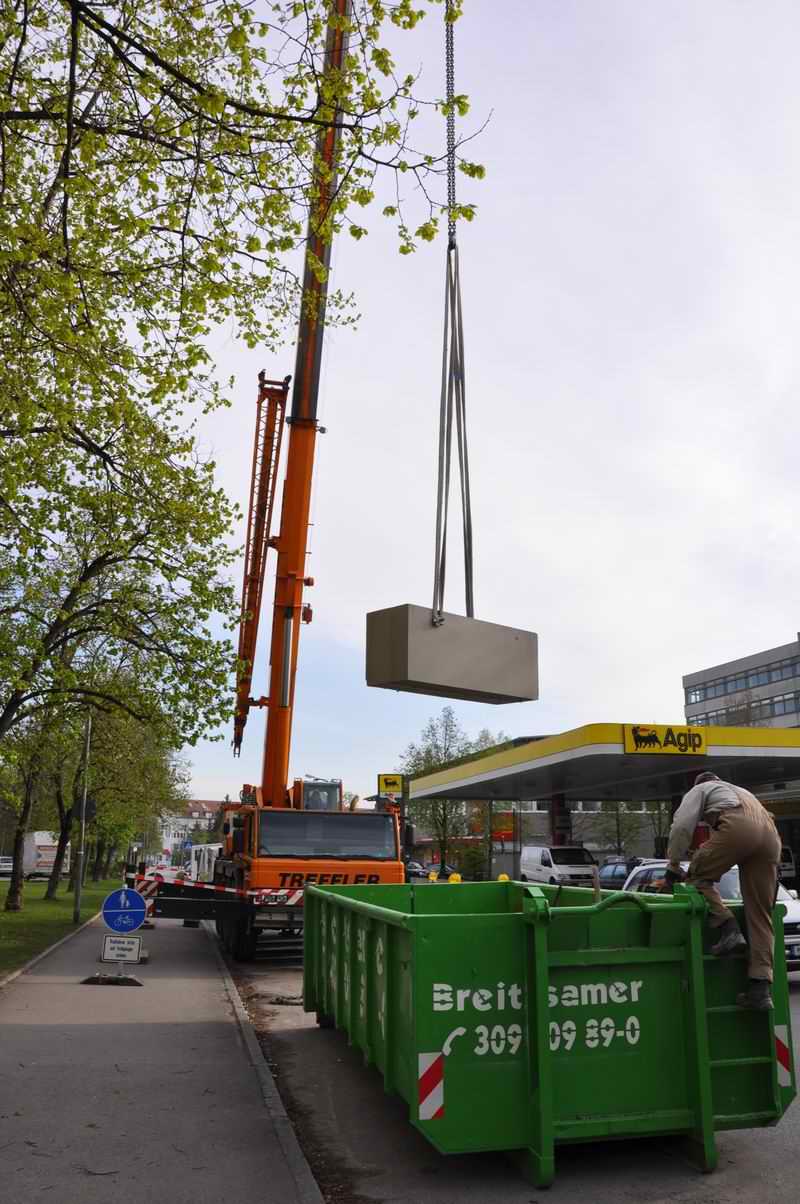
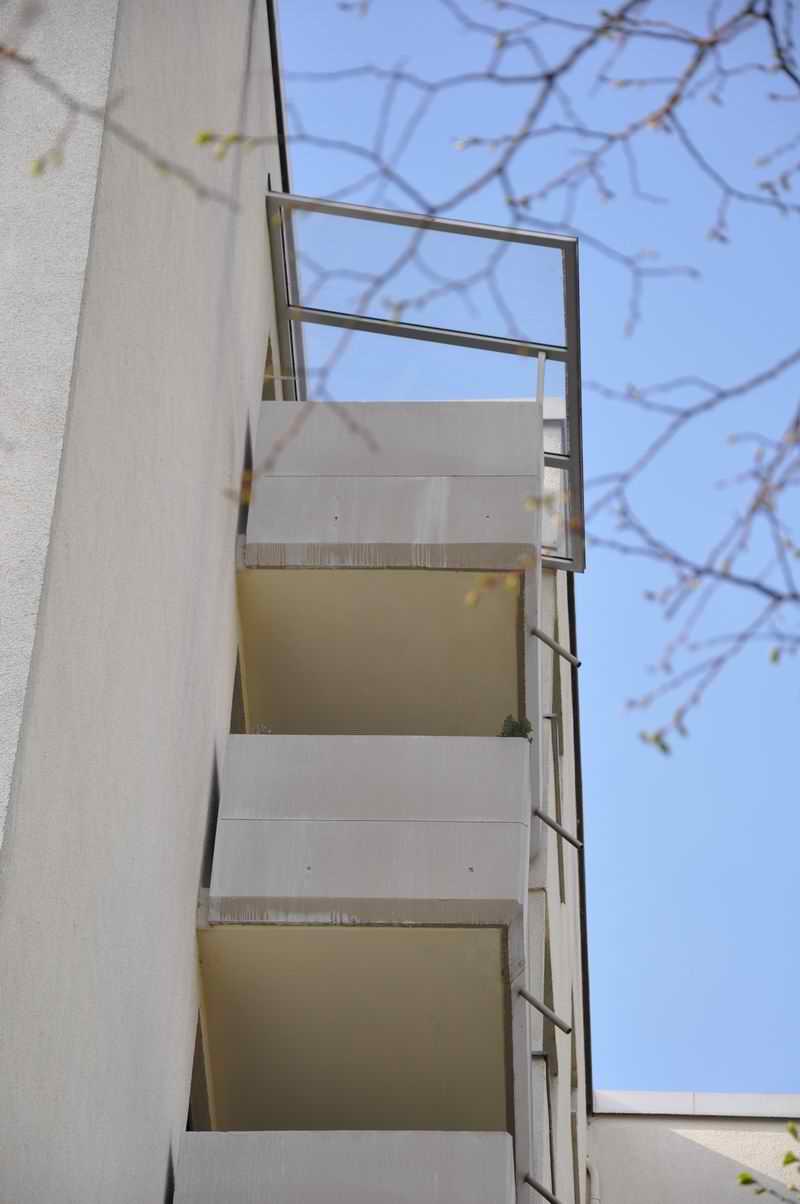
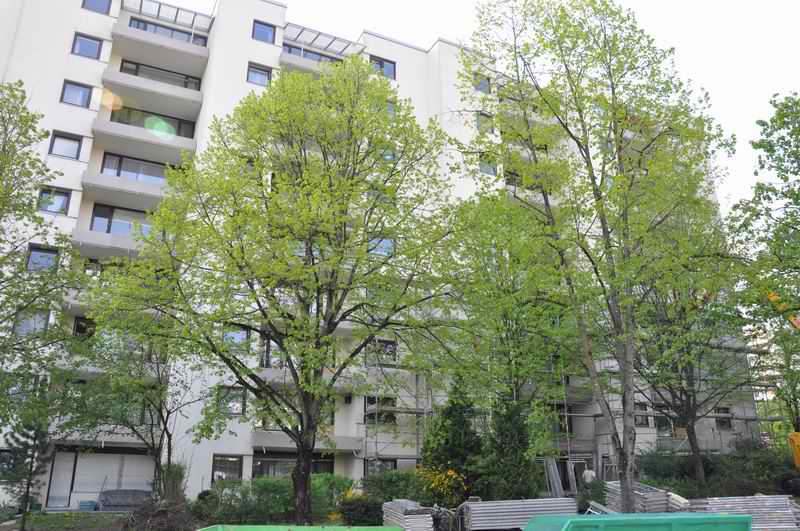
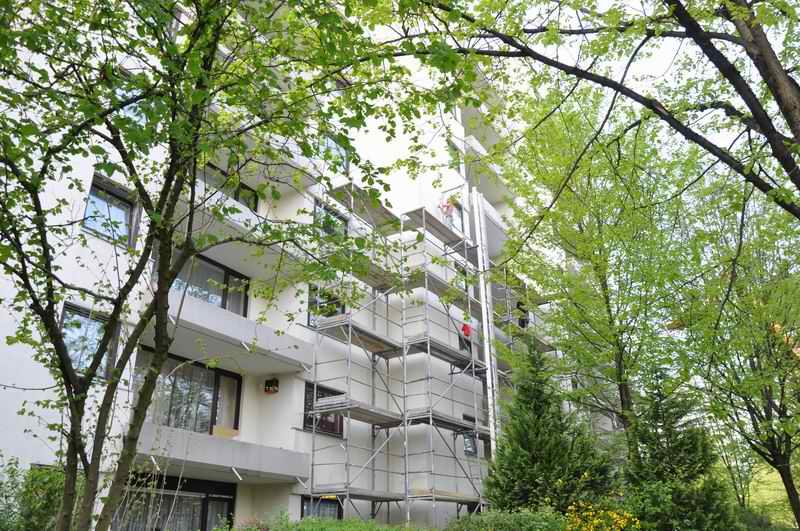
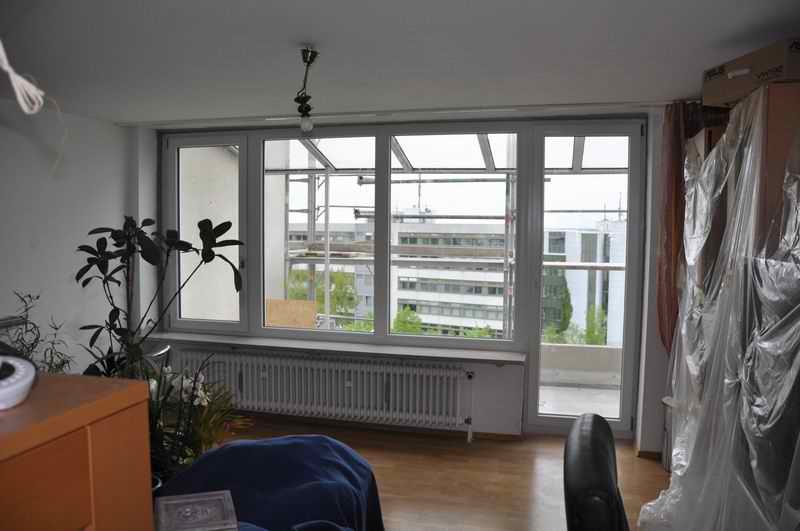
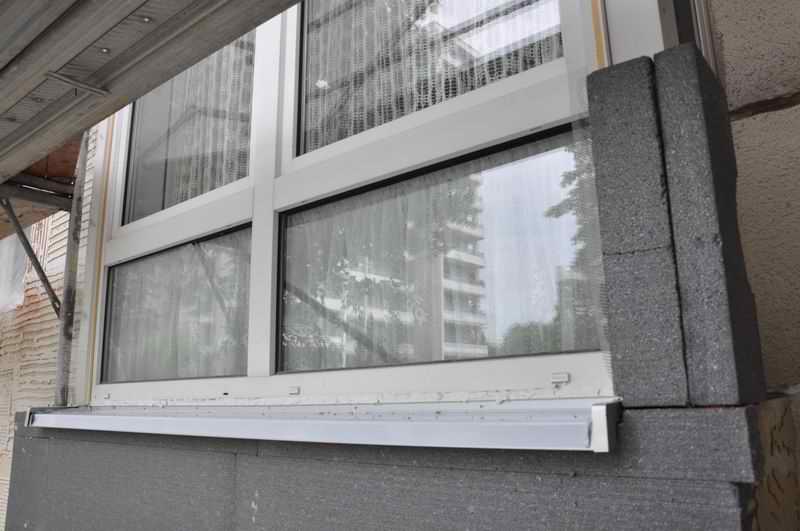
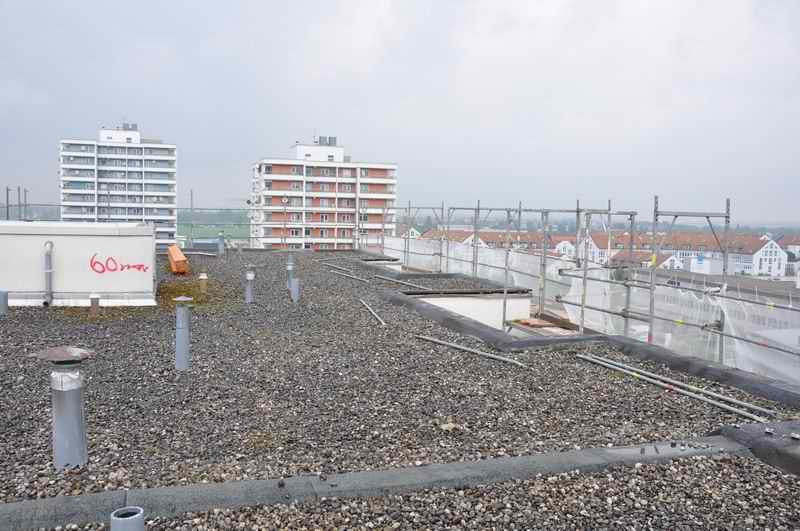
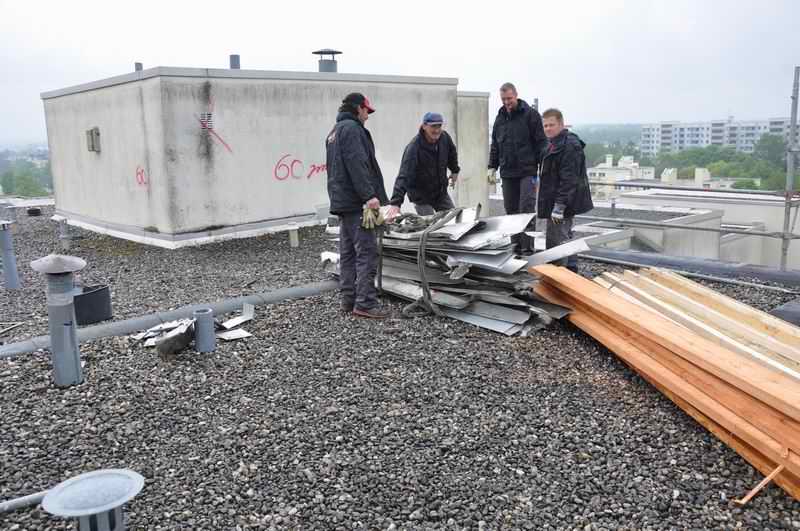
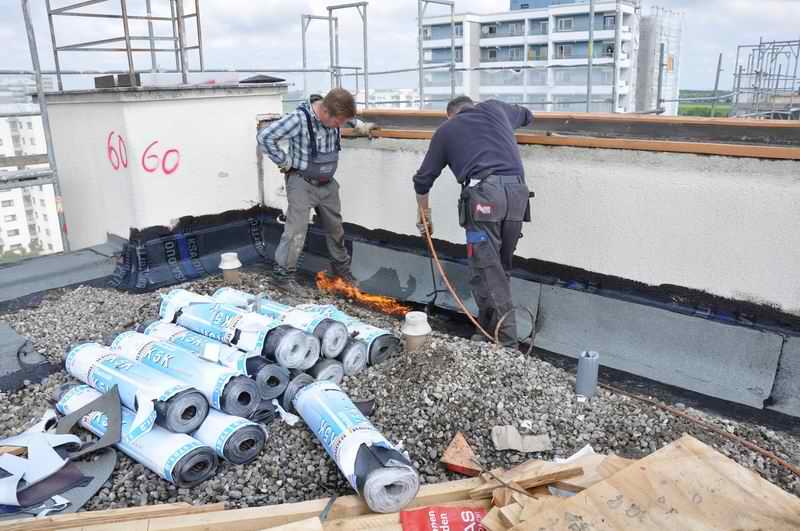
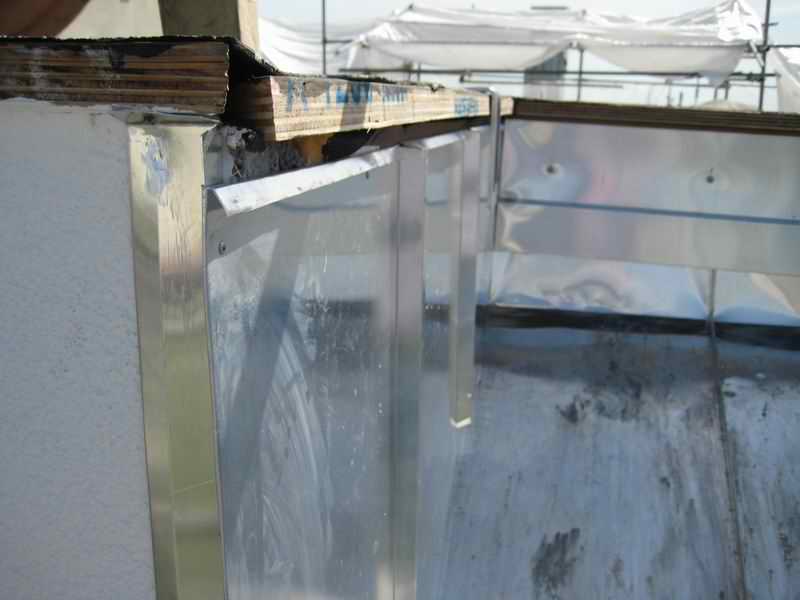
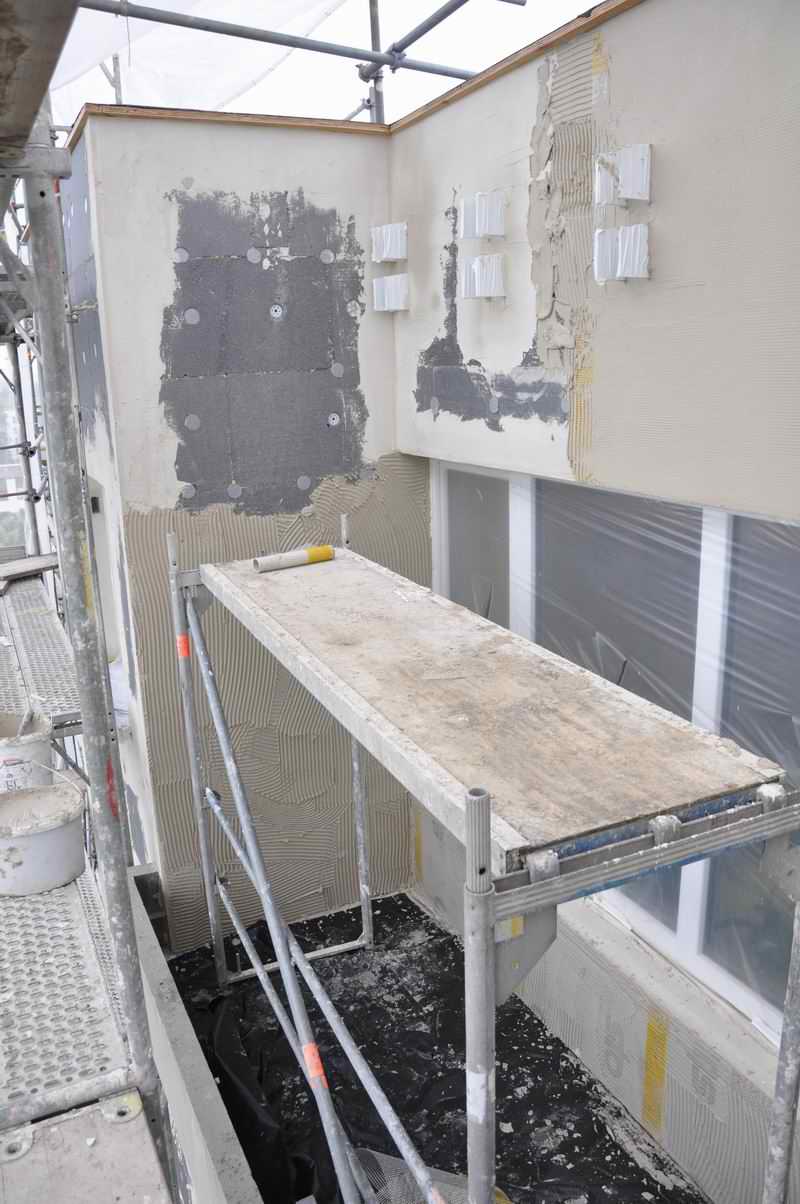
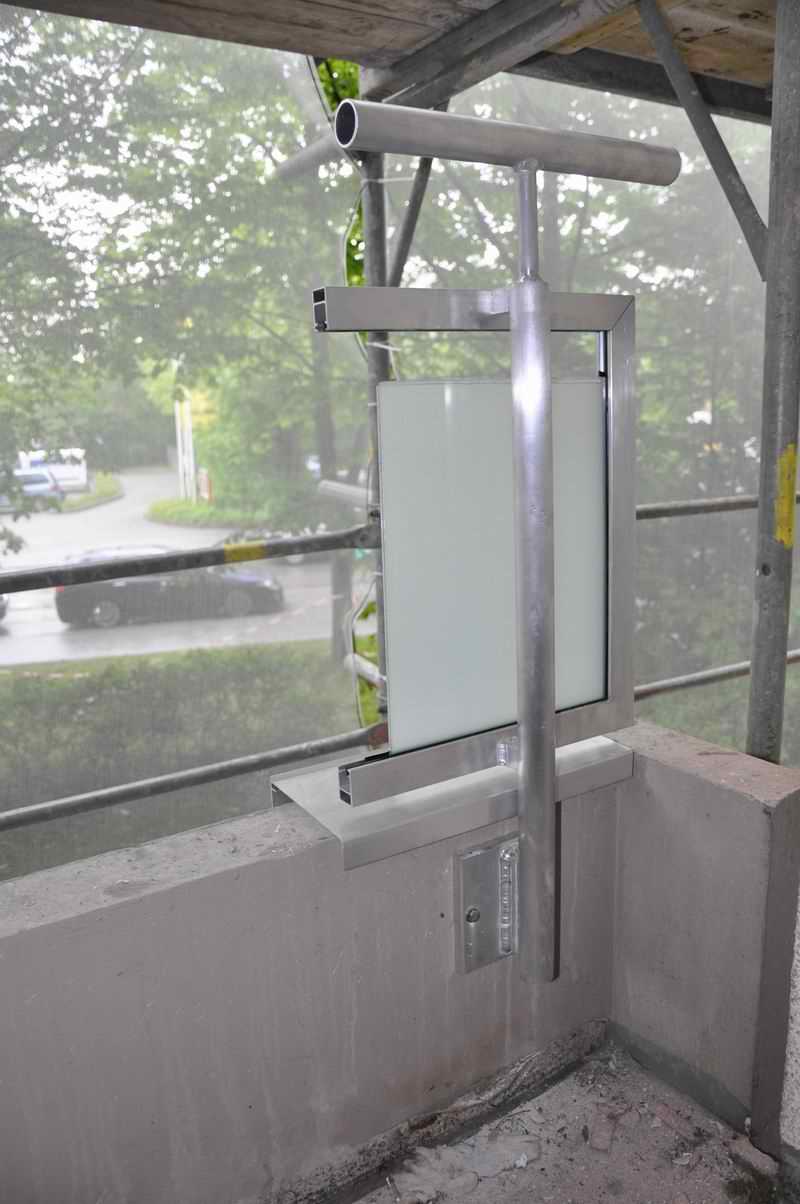
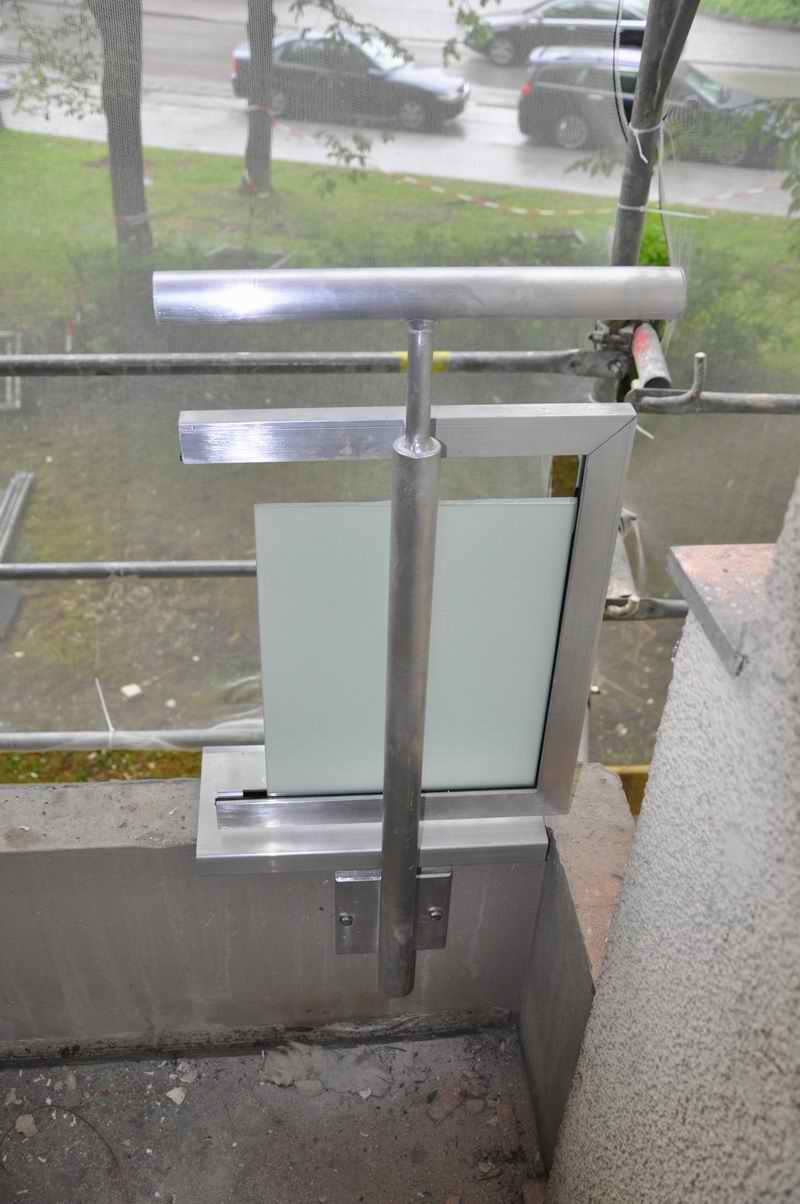
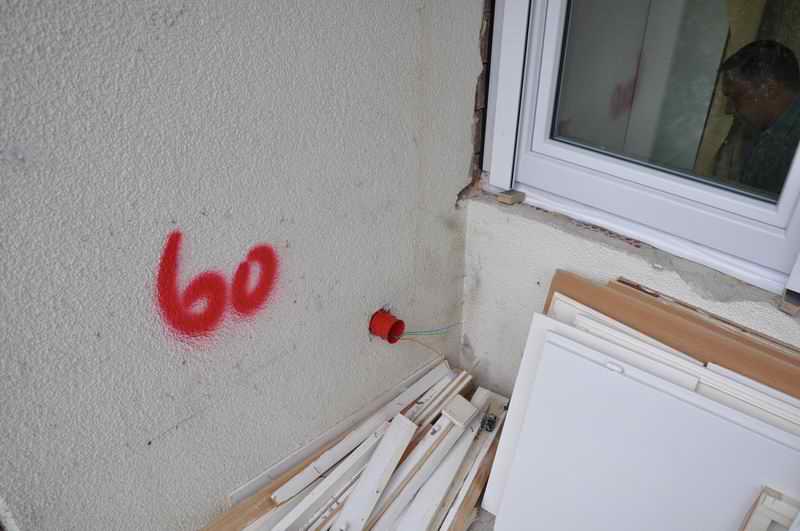
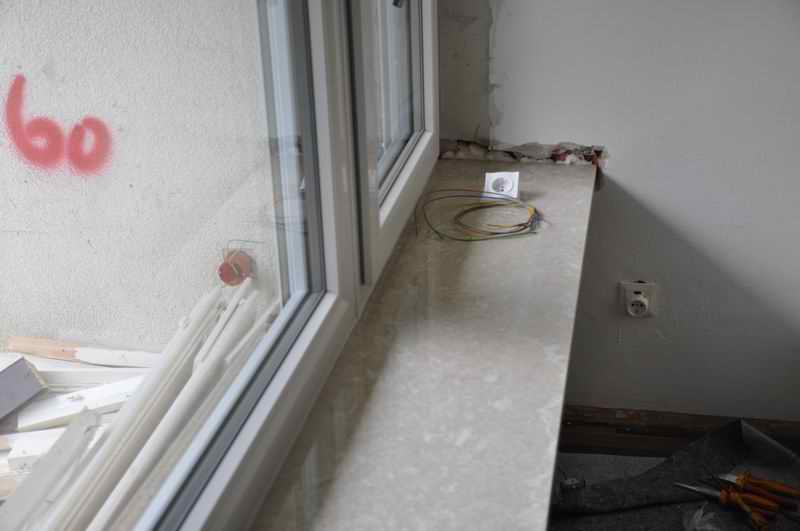
Die Steckdosen auf den Balkonen müssen wegen der Wärmedämmung (60 mm) weiter nach außen verlegt werden.
Neu Vorschriften machen es erforderlich, dass diese nun einen FI-Schutz benötigen.
Der FI-Schutz wird an der Wohnzimmersteckdose, die mit der Balkonsteckdose verbunden ist, integriert.


Treppenhaus
DSC_0297.JPG
DSC_0297.JPG
Muster auf Lindenring 8


 [Counter]